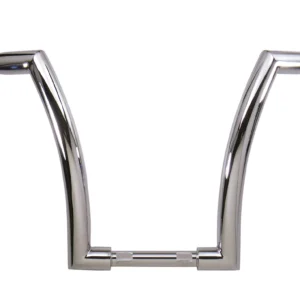

Height alone does not guarantee fitment.
For 12-16 inch ape hangers, the critical dimensions determining cable length requirements and control compatibility are pullback angle and internal wiring capacity, not just the rise measurement. A fitment check must prioritize these geometric factors to prevent installation failures.
The smell of burnt clutch fluid is distinct. It usually means a rider pushed a new set of bars into place without checking the slack in the stock lines. I saw this happen recently in a workshop in Bangkok. The builder had ordered a set of 16-inch bars based on photos that looked aggressive and clean. When he tried to mount them on a Softail, the throttle cable snapped tight before the handlebars could even rotate fully. The height was correct for the look he wanted, but the geometry was wrong for the bike’s existing harness. This is why I now insist on verifying the 12-16 inch ape hangers size guide details before any quotation is finalized. It saves time, money, and the frustration of stripping threads on a brand-new part.
Understanding the difference between rise and pullback is the first step in avoiding these issues. Many buyers assume that if they need 14 inches of height, any 14-inch bar will work. This is a dangerous assumption. The way the bar bends back toward the rider changes the distance the controls travel. This distance directly impacts the tension on your clutch, throttle, and brake lines. Without a proper ape hanger pullback measurement, you are guessing at compatibility. And in custom motorcycle builds, guessing is expensive.
Why Does Pullback Matter More Than Height?
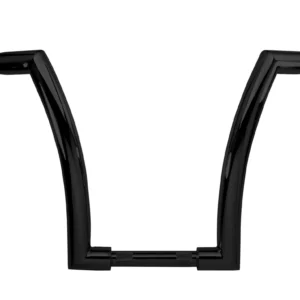
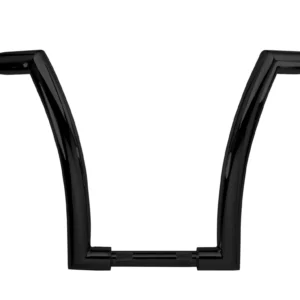
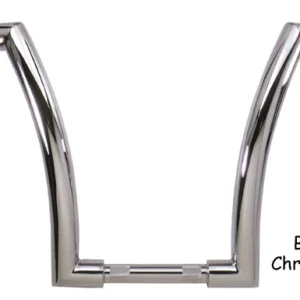
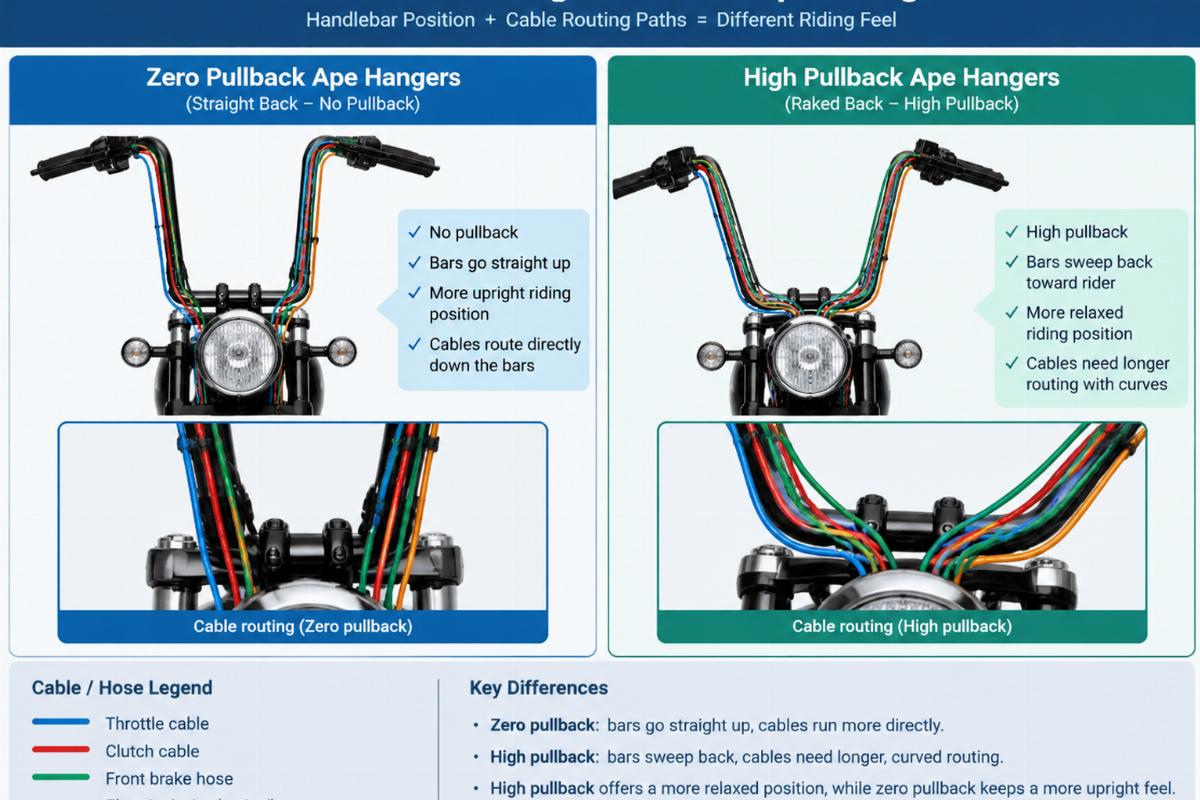
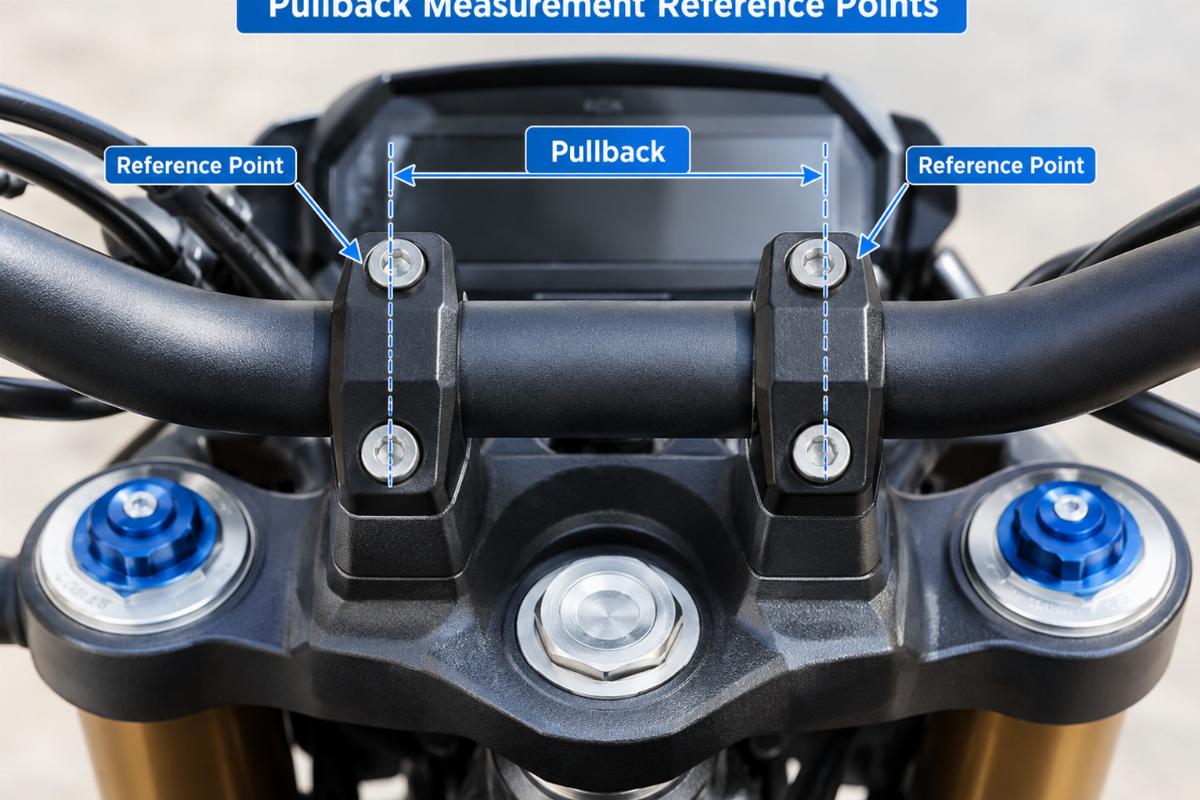
Rise is the vertical distance from the clamp area to the grip center. It is the number most sellers advertise. Pullback is the horizontal distance from the clamp centerline to the grip center. It determines how far forward or backward the rider’s hands sit. These two dimensions work together to define the riding posture and, more importantly, the cable strain.
A bar with zero pullback goes straight up. A bar with significant pullback curves back toward the rider. At the same height, a high-pullback bar places the grips closer to the rider’s body. This might seem like a minor ergonomic detail, but it has major mechanical implications. When you turn the handlebars, the grips move in an arc. A bar with deep pullback moves the grip end further forward during a turn than a straight-up bar does. This extra movement requires more cable length.
I once helped a distributor in Europe who was facing a high return rate on his 16-inch inventory. His customers were installing them on Dyna models with stock cables. The bars had a moderate pullback, which seemed safe. However, the specific bend radius meant that at full lock, the throttle cable was under extreme tension. The solution was not to change the height, but to select a bar with less pullback or to upgrade to extended lines. This is a key point in any 12-16 inch ape hangers size guide. You cannot evaluate the bar in isolation. You must evaluate it against the bike’s existing cable slack.
[NEED_CITE: relationship between handlebar pullback angle and cable extension requirements]
The table below illustrates how different pullback values affect the effective reach and cable demand, using qualitative assessments rather than exact millimeter counts, as these vary by manufacturer bend profiles.
| Bar Style | Pullback Characteristic | Grip Position Relative to Clamp | Cable Strain Risk |
|---|---|---|---|
| Straight Up | Minimal | Directly above | Low |
| Moderate Curve | Standard | Slightly rearward | Moderate |
| Deep Pullback | Significant | Close to rider | High |
If you are sourcing parts for resale, understanding this distinction helps you advise your customers correctly. It prevents the scenario where a buyer installs a bar, realizes the cables are too short, and then blames the part for being defective. The part is fine. The fitment check was incomplete.
What Wiring Issues Occur With Internal Holes?
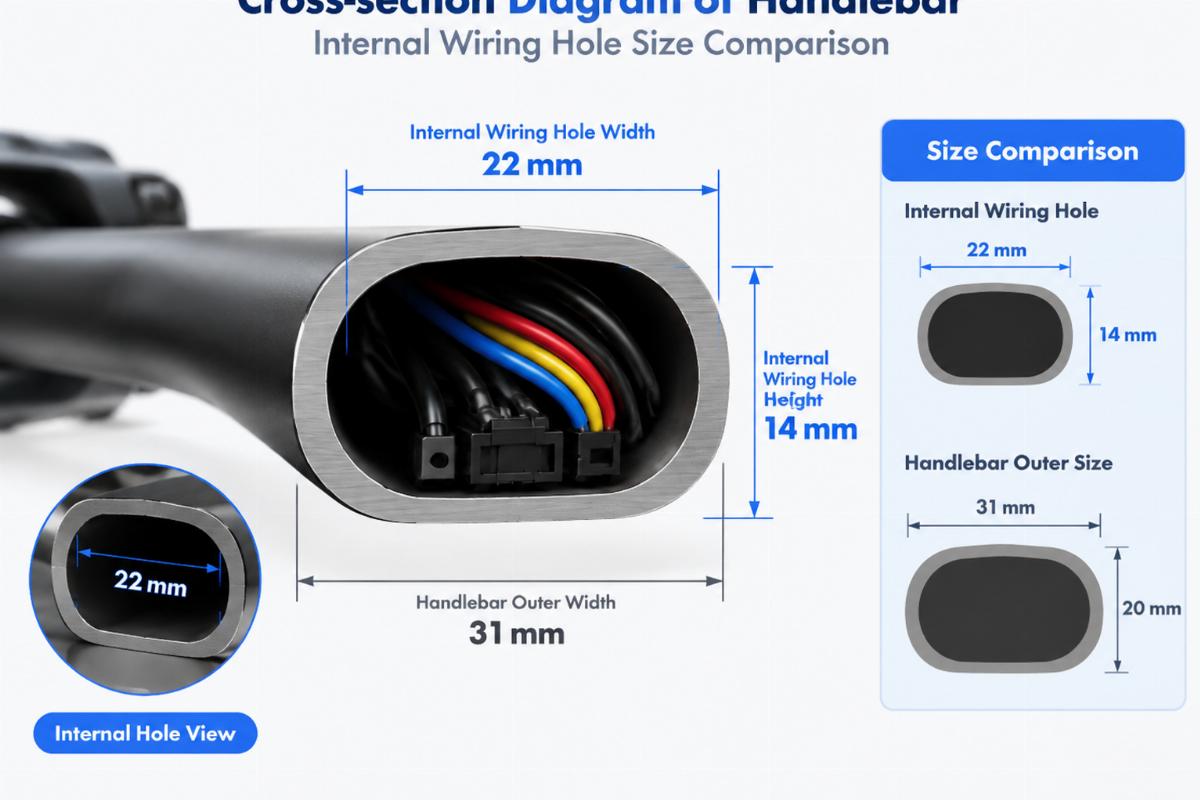
Another common failure point is the internal diameter of the handlebar tube. Modern motorcycles, especially those from the late 1990s onward, use thicker electrical harnesses. These harnesses include connectors for switches, lights, and sensors that are bulkier than old-school bullet connectors. If the internal hole of the handlebar is too small, these connectors cannot pass through.
Most think all 1-inch bars are universal. Truly, internal wiring hole size varies, blocking thick OEM harnesses in cheaper aftermarket tubes. I have seen bars that look identical from the outside but have drastically different internal clearances. Some are drilled only for simple throttle and clutch cables, leaving no room for electrical wires. Others are drilled large enough to accommodate a full harness, allowing for clean, hidden wiring.
When a connector cannot pass through the bar, the installer has two bad options. They can cut the connectors off, splice the wires inside the bar, and hope the insulation holds. This is a fire hazard and a nightmare for future troubleshooting. Or, they can run the wires externally, taping them along the outside of the bar. This ruins the clean look of the custom build and exposes the wires to damage.
For distributors, this is a critical specification to verify. Ask your supplier about the internal hole diameter. Compare it to the connector sizes used on the target motorcycle models. For Harley-Davidson Big Twins from 1984 and later, the harnesses are substantial. A bar that works for a pre-1984 Shovelhead with simple wiring might be useless for a Twin Cam Softail. This is why a thorough 12-16 inch ape hangers size guide must include internal diameter specs.
[NEED_CITE: standard internal diameter requirements for modern motorcycle switch housings]
I recall a case where a batch of bars was returned because the end caps did not seal properly. The issue was not the caps, but the fact that the internal hole was irregular, preventing the wiring loom from sitting flat. This caused the cap to sit crooked, letting water in. Water inside a handlebar leads to corroded switches and intermittent electrical faults. It is a small detail that causes big problems.
Which Controls Fit Your Bar?
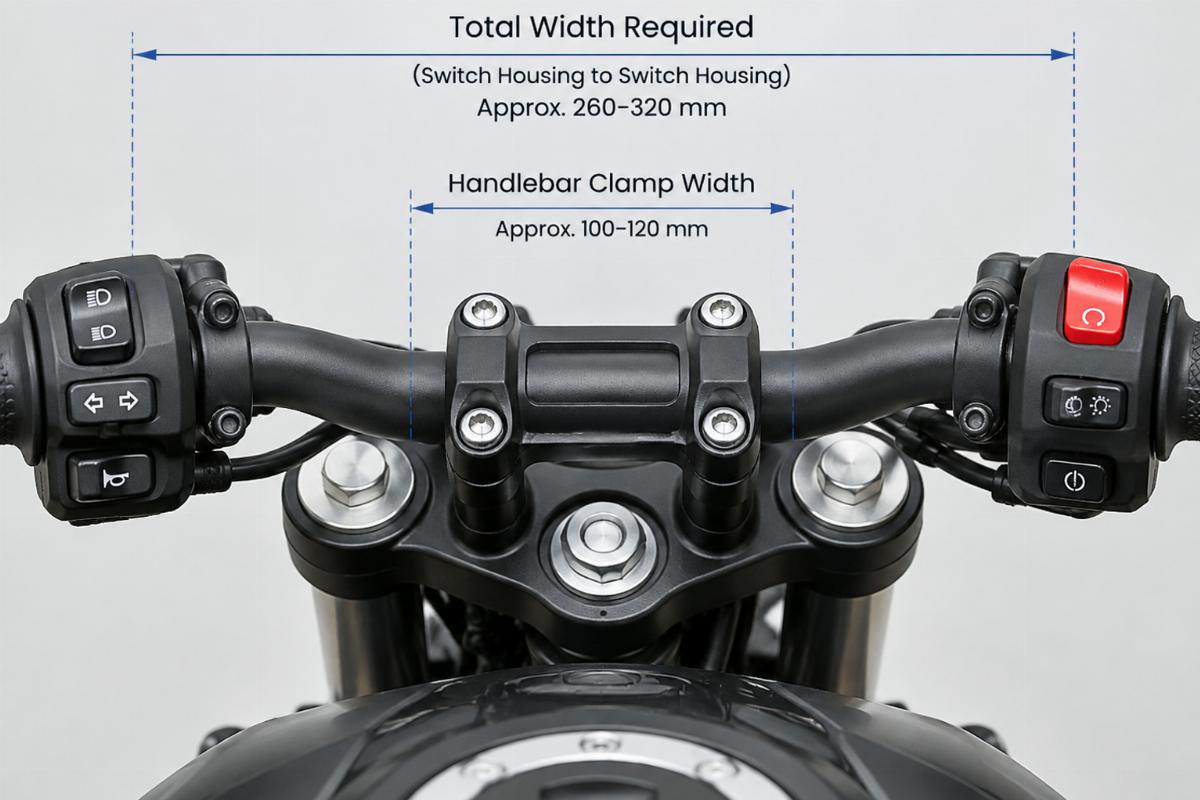
The clamp area is where the handlebar meets the motorcycle. It is also where the switches and levers attach. Not all clamp areas are created equal. The diameter must match the triple tree or riser clamps on the bike. For most American V-twins, this is 1 inch or 1-1/4 inches. But the width of the clamp area matters too.
If the clamp area is too narrow, the switch housings might not fit side-by-side. Modern switch housings are wider than vintage ones. They contain more buttons for ignition, start, and lighting functions. If the bar’s clamp area is not wide enough, the switches will overlap or sit at an awkward angle. This makes them hard to reach and can cause premature wear on the mounting bolts.
Furthermore, the wall thickness of the bar at the clamp area affects its strength. Thin-walled bars can crush under the torque of the clamp bolts. This leads to slipping, which is dangerous. A slipping handlebar means lost control. Always check the material specification and wall thickness. Chromoly steel is preferred for its strength-to-weight ratio. Cheap mild steel may bend or crack under stress.
[NEED_CITE: material strength standards for motorcycle handlebar clamp areas]
When I review fitment sheets for our clients, I look for the control clamp area width. It is often overlooked. A bar might have the perfect rise and pullback, but if the clamp area is only 3 inches wide and the bike needs 4 inches for the switches, it will not work. This is a simple measurement that prevents a costly mistake. Include this in your 12-16 inch ape hangers size guide checks.
How to Verify Before Buying?
Verification is the best insurance against returns. Do not rely on generic fitment lists. Model years matter. A 1995 Softail might have different cable lengths than a 2005 Softail, even if they look similar. Factory service manuals are the best source for stock cable specifications. They list the part numbers and sometimes the lengths.
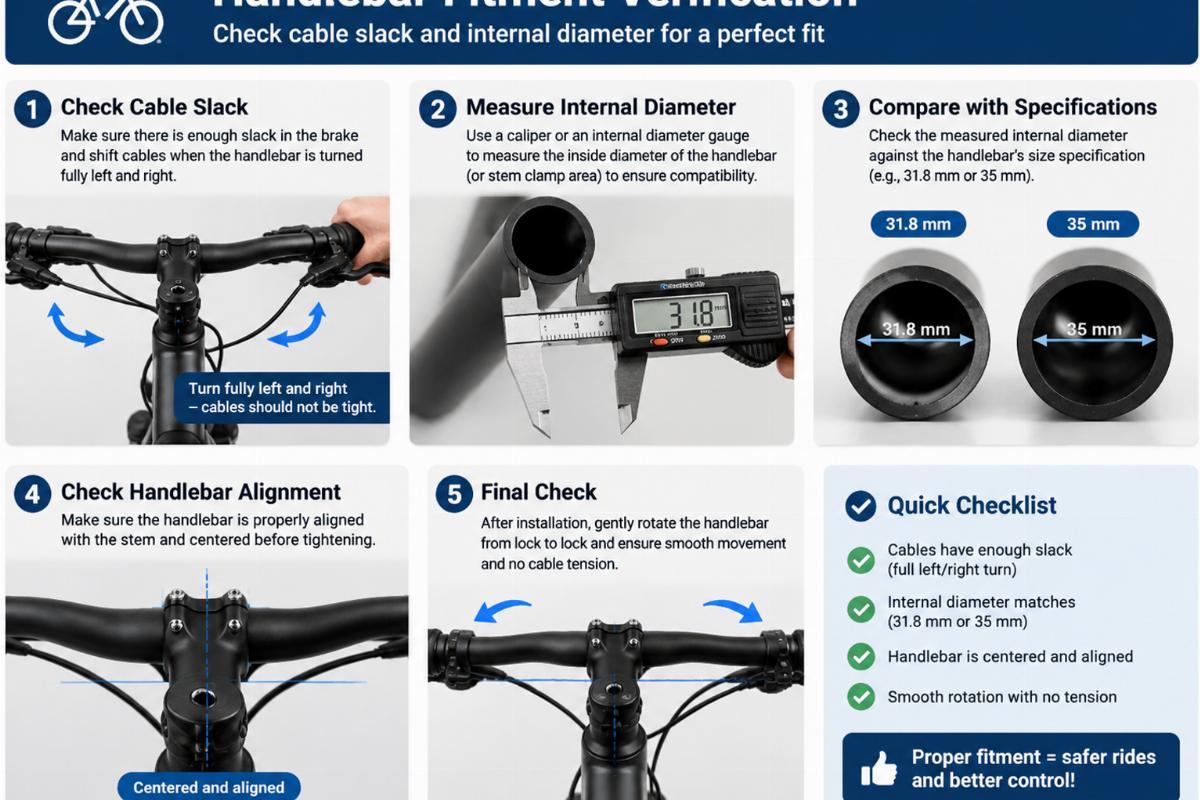
Start by measuring the slack in the current cables. Turn the handlebars fully to the left and right. Note how much free movement exists before the cables tighten. Then, compare this to the geometry of the new bars. If the new bars have more pullback, they will require more slack. If the stock cables have little slack, you will need extended lines.
Cross-reference the model year and family. Ensure the bar diameter matches the risers. Check the internal hole size against the harness connectors. Verify the clamp area width for the switch housings. This process takes a few minutes but saves hours of installation trouble.
[NEED_CITE: factory service manual procedures for cable routing and slack measurement]
We provide fitment sheets with our orders. These sheets include year ranges and key dimensions. They are not just marketing materials. They are technical documents designed to help you make the right choice. Use them. Send your model and year for a fitment check if you are unsure. It is better to ask before shipping than to apologize after installation.
Conclusion
Fitment is about geometry, not just height.
Selecting the right bars requires looking beyond the rise. Pullback dictates cable tension. Internal hole size determines wiring feasibility. Clamp area width ensures control compatibility. By focusing on these technical details, you avoid installation failures and ensure a clean, functional build. Use a detailed 12-16 inch ape hangers size guide to verify every dimension before purchase.