
Speedster and High Jim Handlebars: Old School Bar Guide Wholesale Supplier
Visual style does not guarantee fitment.
Selecting old-school bars requires verifying three critical dimensions—clamp diameter, pullback, and internal wiring path—rather than relying on visual style alone. Failure to cross-reference these specifications against factory service manuals for specific model years results in installation blocks, control slippage, and costly returns.
I still remember the silence in the warehouse when a container arrived back from Hamburg. It was not empty, but it was useless. A batch of classic-style handlebars had been cleared for export based on a generic description, but the customs inspection in Germany flagged a discrepancy. The issue was not the finish or the brand name, but a few millimeters in the control clamp area diameter. The HS code on the paperwork did not match the physical reality of the part, leading to a prolonged inspection and eventual return. That incident taught me that in the aftermarket V-twin parts trade, assumptions are expensive. [NEED_CITE: importance of accurate HS code classification for motorcycle parts]
Later, working directly with custom builders, I encountered a different but equally frustrating problem. A shop ordered a set of Speedster bars for a Shovelhead build. They looked perfect in the photos—sleek, low, and aggressive. But when the builder tried to run the throttle cables, they hit a dead end. The internal wiring holes were drilled slightly off-center, blocking the cable ferrules. The entire set had to be scrapped. These are not isolated incidents. They are the result of treating handlebars as purely aesthetic components rather than precise mechanical interfaces.
To avoid these pitfalls, distributors and builders must move beyond visual appeal. This guide breaks down the technical verification process for Speedster and High Jim handlebars, focusing on the dimensions that actually determine compatibility with Harley-Davidson and Yamaha XS650 models.
Why Do Old School Bars Fail Fitment Checks?
Minor dimension errors cause major installation blocks.
The term “old school” is often used loosely in marketing, implying a universal standard that does not exist. In reality, fitment failures usually stem from minor variations in pullback angles and clamp diameters that are invisible to the naked eye but critical for assembly. Many buyers assume that if a bar looks like a 1970s original, it will fit like one. This is a dangerous assumption.
Consider the difference between pre-1984 and post-1984 Harley-Davidson Big Twin models. The evolution of the frame geometry and control mounting points means that a bar designed for a Knucklehead may not align correctly with an Evolution engine chassis, even if the rise and width appear similar. [NEED_CITE: Harley-Davidson frame geometry changes by model year]
A common scenario involves a distributor ordering a mixed container of bars for various vintage builds. Without verifying the specific pullback and rise dimensions against the target model’s service manual, they risk receiving parts that require significant modification. For example, a High Jim bar might have the correct height but an incorrect pullback, forcing the rider into an uncomfortable position or causing the controls to interfere with the fuel tank.
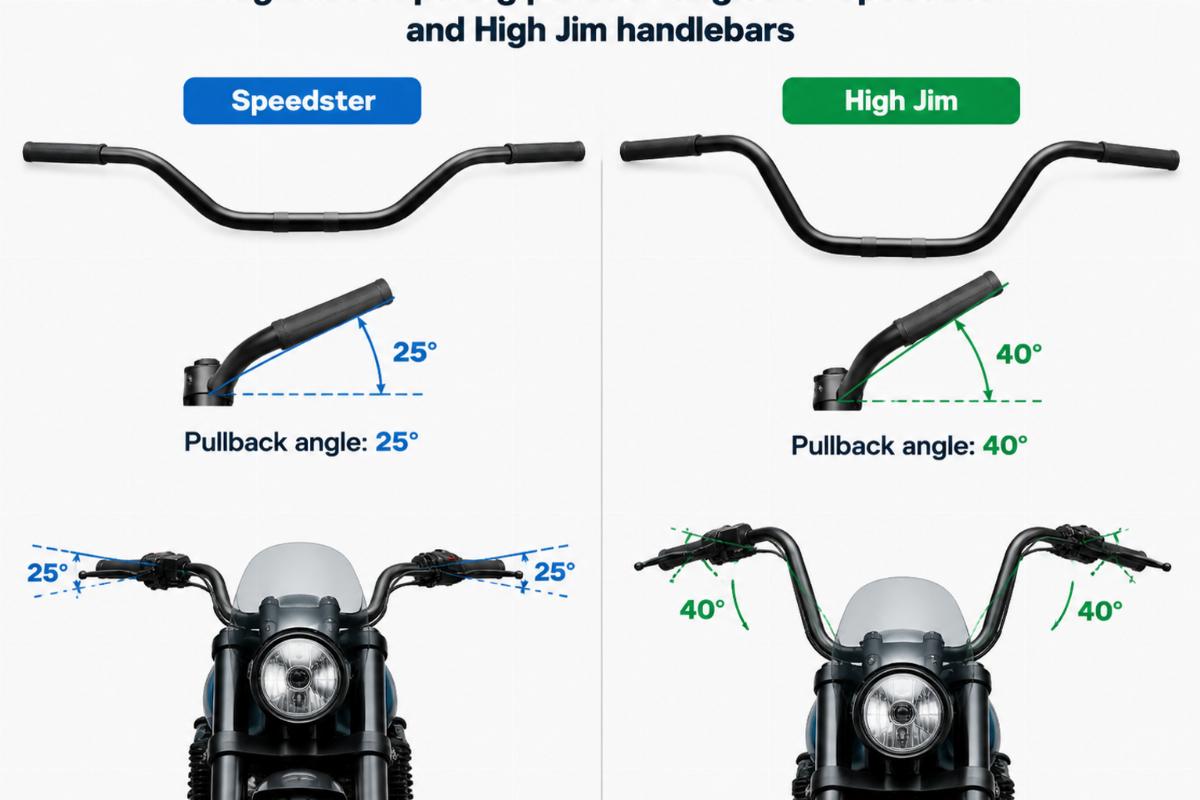
The cost driver here is not the price of the bar itself, but the labor hours wasted on modifying ill-fitting parts. A bar that requires welding, re-drilling, or bending to fit is no longer a replacement part; it is a raw material. For professional builders, time is the most scarce resource. Ensuring that the bar matches the OEM specifications for clamp diameter and pullback from the outset prevents these downstream delays.
How to Verify Clamp Diameter and Pullback?
Precision measurement prevents control slippage.
The control clamp area is the most critical interface on any handlebar. If the diameter is even slightly off, the clamps will either not close fully or slip under vibration. This is not a matter of tightness; it is a matter of geometric compatibility.
To verify fitment, you must measure the diameter of the bar at the exact point where the controls mount. This area is often swaged or tapered differently depending on the manufacturer and the intended model year. Using a digital caliper, measure the outer diameter and compare it to the factory specification for the specific motorcycle. [NEED_CITE: factory service manual specifications for handlebar clamp diameter]
| Feature | Pre-1984 Big Twin | Post-1984 Big Twin | Yamaha XS650 |
|---|---|---|---|
| Clamp Diameter Trend | Often larger, less standardized | More standardized, specific tolerances | Distinct metric/imperial mix |
| Pullback Variation | Significant variation across styles | Consistent within model families | Specific to custom builds |
| Fitment Risk | High due to lack of uniformity | Moderate if year is ignored | High if OEM specs are not checked |
Note: Dimensions vary by specific model and year. Always consult the relevant service manual.
A US buyer once reported that a set of bars they purchased for a Softail model kept slipping despite using high-torque clamps. Upon inspection, we found that the bar’s clamp area diameter was slightly smaller than the OEM spec. The clamps were bottoming out before applying sufficient pressure. This is a manufacturing oversight that can be caught with simple measurement before installation.
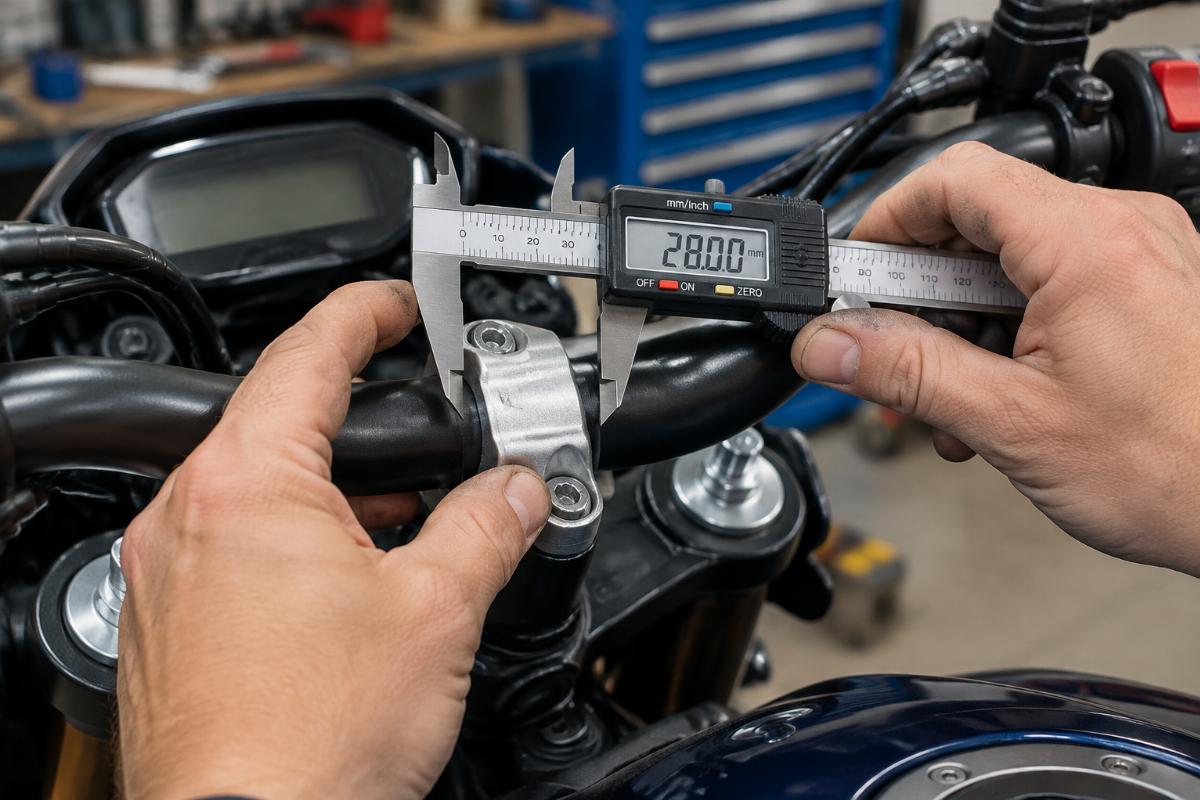
When sourcing Speedster handlebars or High Jim handlebars, request the exact clamp diameter measurements from the supplier. Do not accept generic terms like “standard fit.” Ask for the specific millimeter or inch measurement for the control area. This simple step eliminates the majority of fitment issues related to control slippage.
What Blocks Internal Wiring in Speedster Bars?
Hole misalignment is a common manufacturing oversight.
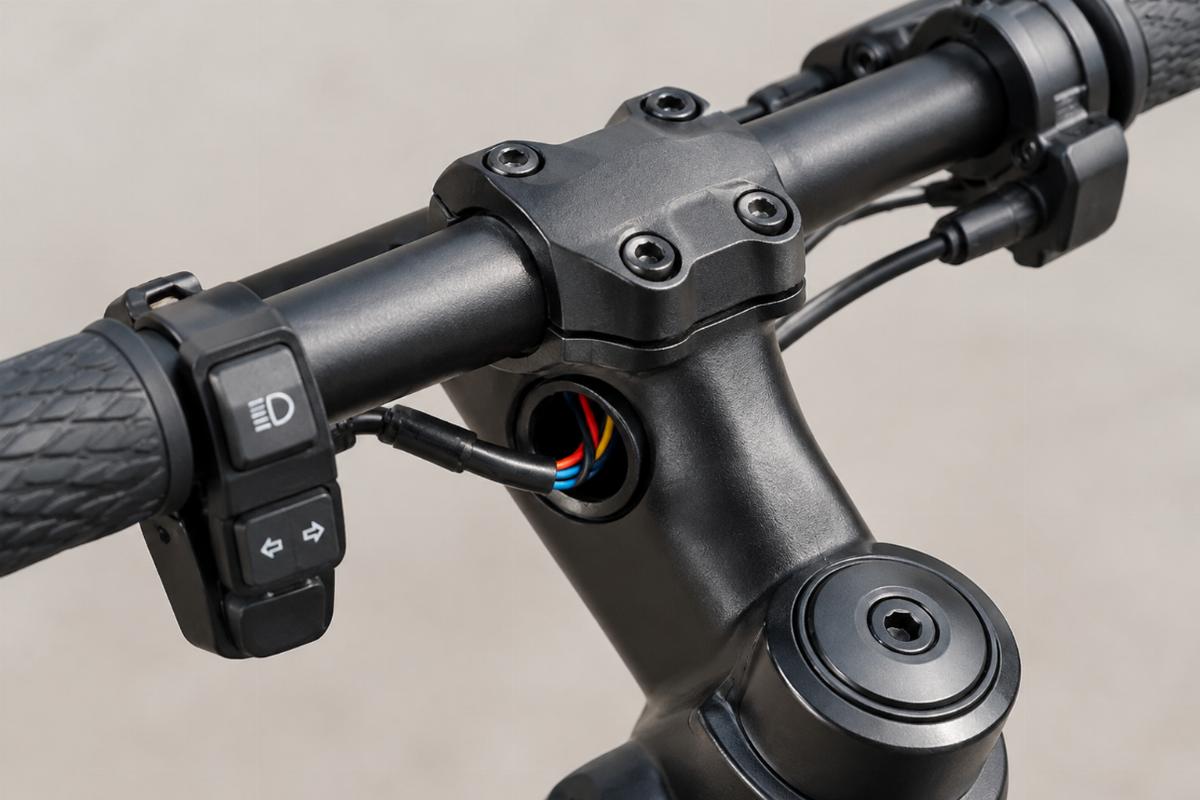
Internal wiring is a hallmark of clean custom builds, but it is also a frequent source of frustration. Speedster bars, with their low profile and swept-back design, often have limited internal space for cables. If the drilling for the internal wiring holes is not perfectly aligned, cables will bind or fail to pass through entirely.
In my experience, a significant number of aftermarket bars suffer from this issue. The holes are drilled based on a general template rather than the specific requirements of the cable ends used in modern aftermarket kits. This leads to situations where the throttle cable ferrule hits the edge of the hole, preventing full installation. [NEED_CITE: common issues with internal wiring in aftermarket handlebars]
To avoid this, perform a cable simulation test. Before installing the bar on the bike, thread a piece of stiff wire or an old cable through the internal path. Check for smooth passage and ensure there are no sharp edges or obstructions. If the wire binds, the bar is not ready for installation.
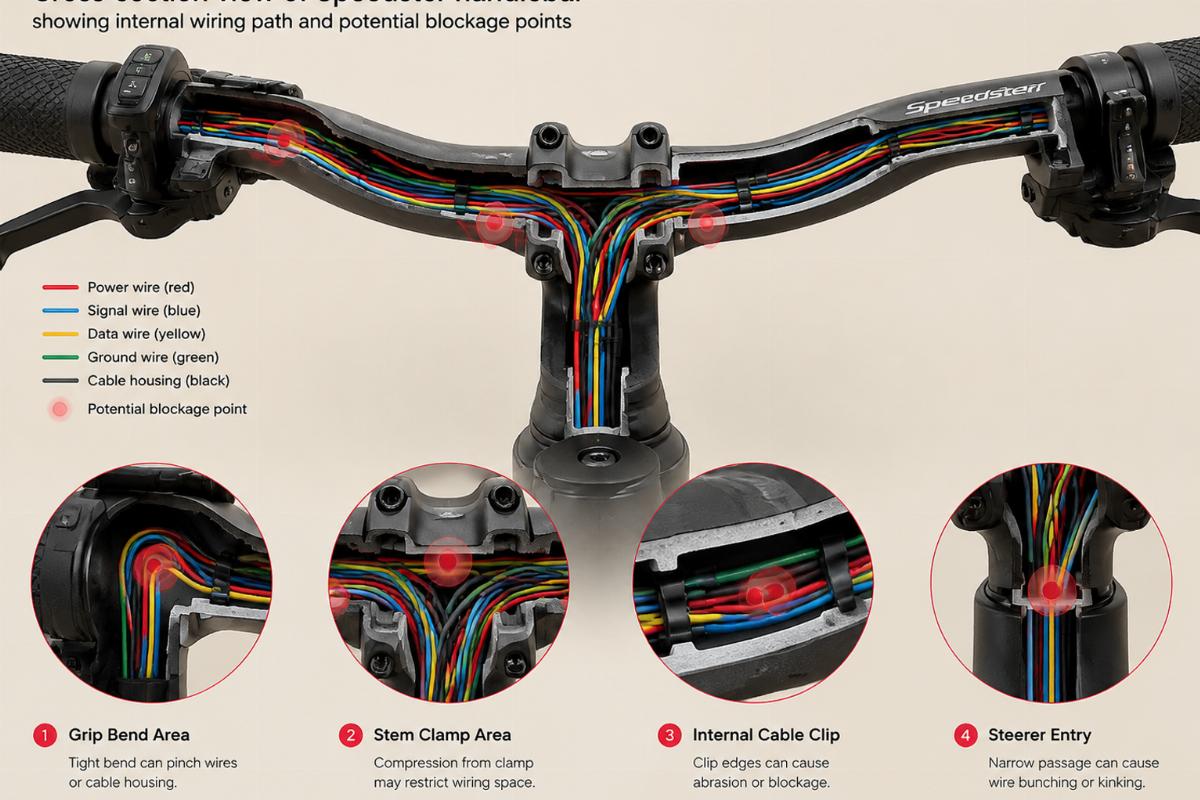
Some manufacturers address this by deburring the internal holes or using larger drill bits, but this is not universal. When ordering Speedster bar fitment guide compatible parts, ask the supplier about their internal wiring quality control. Do they check every bar? Do they use a specific gauge for the drilling? These questions reveal the level of attention to detail in the production process.
For distributors, returning a batch of bars due to wiring blockages is a logistical nightmare. It involves shipping costs, customs re-clearance, and lost sales. Verifying the internal wiring path before bulk ordering is a small investment that protects against these larger losses.
Which Bar Style Fits Your V-Twin Build?
Match bar geometry to model year and frame type.
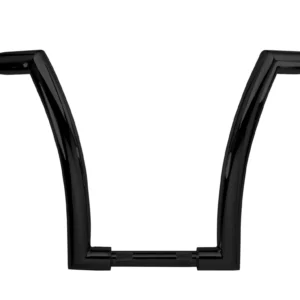
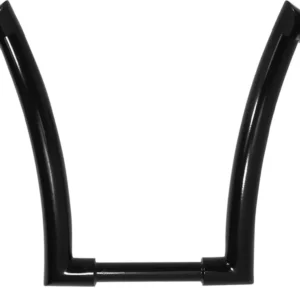
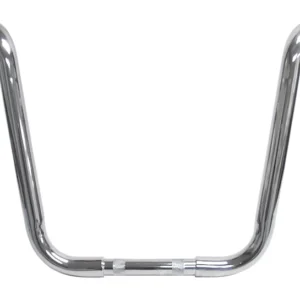
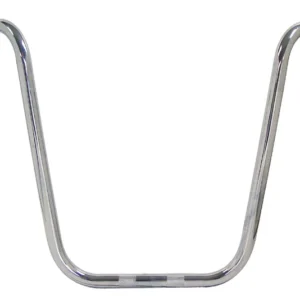
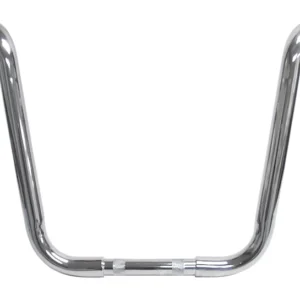
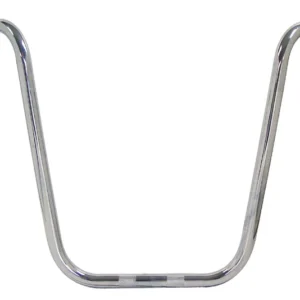
Choosing between Speedster and High Jim handlebars is not just about aesthetics; it is about matching the bar’s geometry to the motorcycle’s frame and intended use. Speedster bars are characterized by their low rise and significant pullback, creating a forward-leaning riding position. High Jim bars, on the other hand, offer more rise and a more upright posture, suitable for cruising and long-distance riding.
For Harley-Davidson Dyna and Sportster families, the choice often depends on the rider’s preference for comfort versus style. However, for classic Big Twin models like the Knucklehead or Panhead, the frame geometry may limit the options. A High Jim bar might interfere with the headlight or fuel tank on a shorter frame, while a Speedster bar might place the controls too far forward for comfortable operation. [NEED_CITE: ergonomic considerations for motorcycle handlebar selection]
| Bar Style | Rise | Pullback | Best For |
|---|---|---|---|
| Speedster | Low | High | Aggressive styling, short rides |
| High Jim | Medium/High | Moderate | Cruising, comfort, long distances |
Note: Fitment depends on specific model year and frame modifications.
When building a catalogue for distributors, it is essential to provide clear fitment data. Our fitment sheets and cross-reference documents help verify compatibility before ordering. By mapping each bar style to specific model years and frame types, we reduce the guesswork for buyers. This approach ensures that the bar selected not only looks right but also functions correctly on the intended motorcycle.
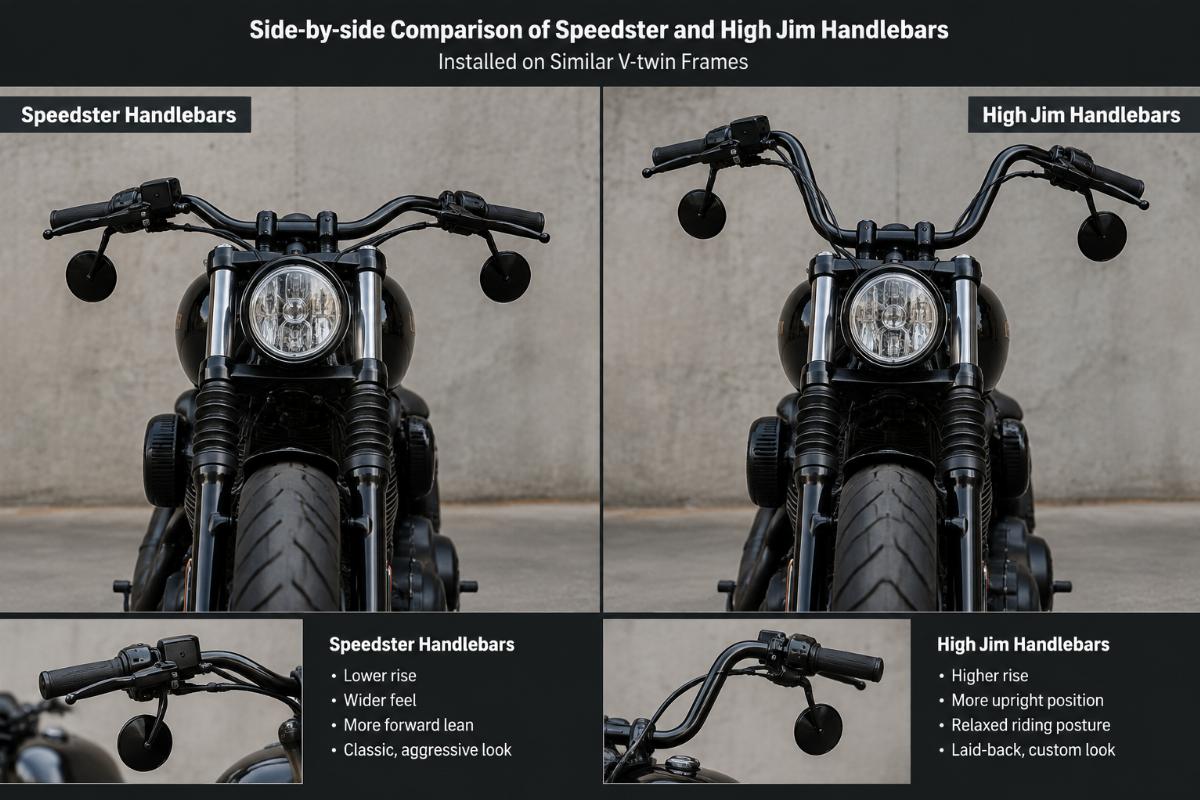
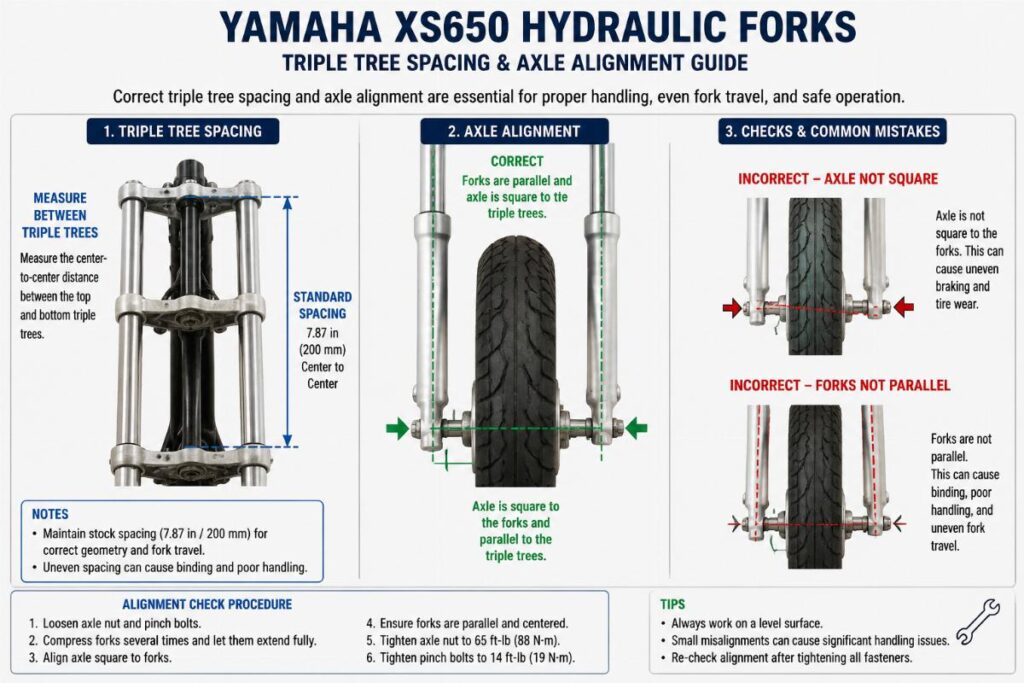
For Yamaha XS650 builds, the considerations are similar but with different dimensional constraints. The XS650 frame is narrower, and the control mounting points may differ from Harley-Davidson models. Always verify the clamp diameter and pullback against the specific XS650 service manual.
Conclusion
Fitment is determined by dimensions, not appearance.
Selecting the right handlebars for a V-twin build requires a disciplined approach to measurement and verification. By focusing on clamp diameter, pullback, and internal wiring paths, builders and distributors can avoid the common pitfalls that lead to installation failures and returns.
Always consult factory service manuals for specific model year requirements. Use precise measurement tools to verify dimensions before installation. And never assume that visual similarity equates to mechanical compatibility. This rigorous approach ensures that every bar installed performs as intended, enhancing both the safety and satisfaction of the final build.