
Harley Stator and Charging Kit B2B Wholesale Supplier Guide
Higher amperage does not guarantee a working charging system.
Matching a charging kit requires more than amp ratings; phase alignment, rotor compatibility, and regulator connector types must match the specific model year to prevent system failure. A mismatch in any of these electrical specifications will lead to immediate component damage or unstable voltage output, regardless of the stator’s power capacity.
I learned this lesson the hard way early in my career while sourcing parts for a client in South America. The request was for a Shovelhead upgrade. I focused entirely on the amp rating to secure a competitive price, assuming that higher output equated to better performance. I ignored the phase configuration and rotor compatibility details. When the parts arrived and were installed, the phase mismatch caused the voltage regulator to overheat and fail within weeks. The client was understandably frustrated, and the cost of replacing the fried regulator and shipping new parts far exceeded the initial savings. That incident shifted my entire approach to electrical components. Now, I scrutinize stator output phases, regulator connector pinouts, and rotor magnetic patterns before confirming any order. This attention to detail is what separates a reliable Harley stator and charging kit buying guide from a simple parts catalog.
Understanding these technical nuances is critical for distributors and repair shops aiming to reduce returns. Many buyers assume that if a part fits mechanically, it will work electrically. This is a dangerous assumption. The following sections break down the specific technical checks required to ensure fitment accuracy.
Why Amp Rating Is Not Enough?
System stability depends on phase and rotor match, not just power output.
Most buyers look at the amp rating first. It is a tangible number that suggests performance. However, a high-amp stator with the wrong phase configuration will destroy the voltage regulator rectifier almost instantly. The regulator is designed to handle a specific input waveform. If the stator outputs a different phase structure than the regulator expects, the internal diodes cannot rectify the current properly, leading to thermal runaway.
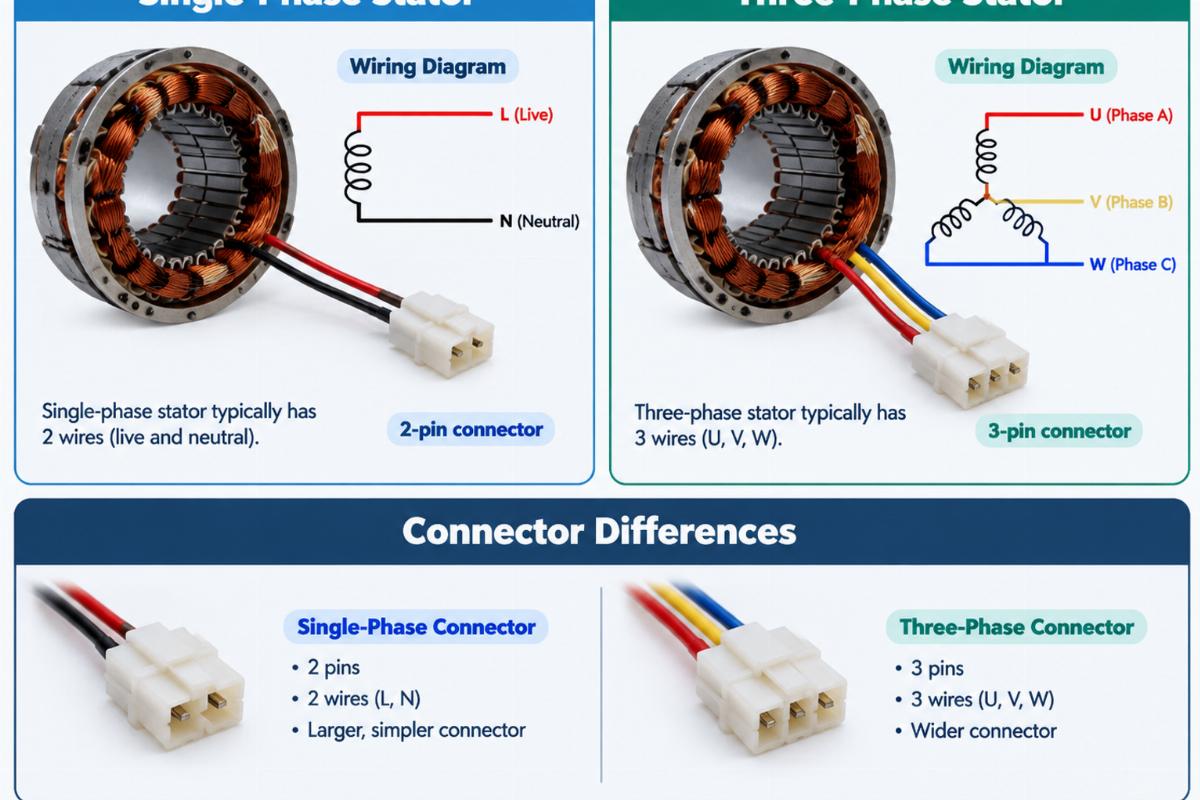
Consider the difference between single-phase and three-phase systems. Older Harley-Davidson models often used single-phase alternators, while later models switched to three-phase for smoother power delivery and efficiency. Swapping a three-phase stator into a system designed for single-phase, or vice versa, creates an electrical incompatibility that no amount of amperage can fix. [NEED_CITE: electrical phase compatibility principles in motorcycle charging systems]
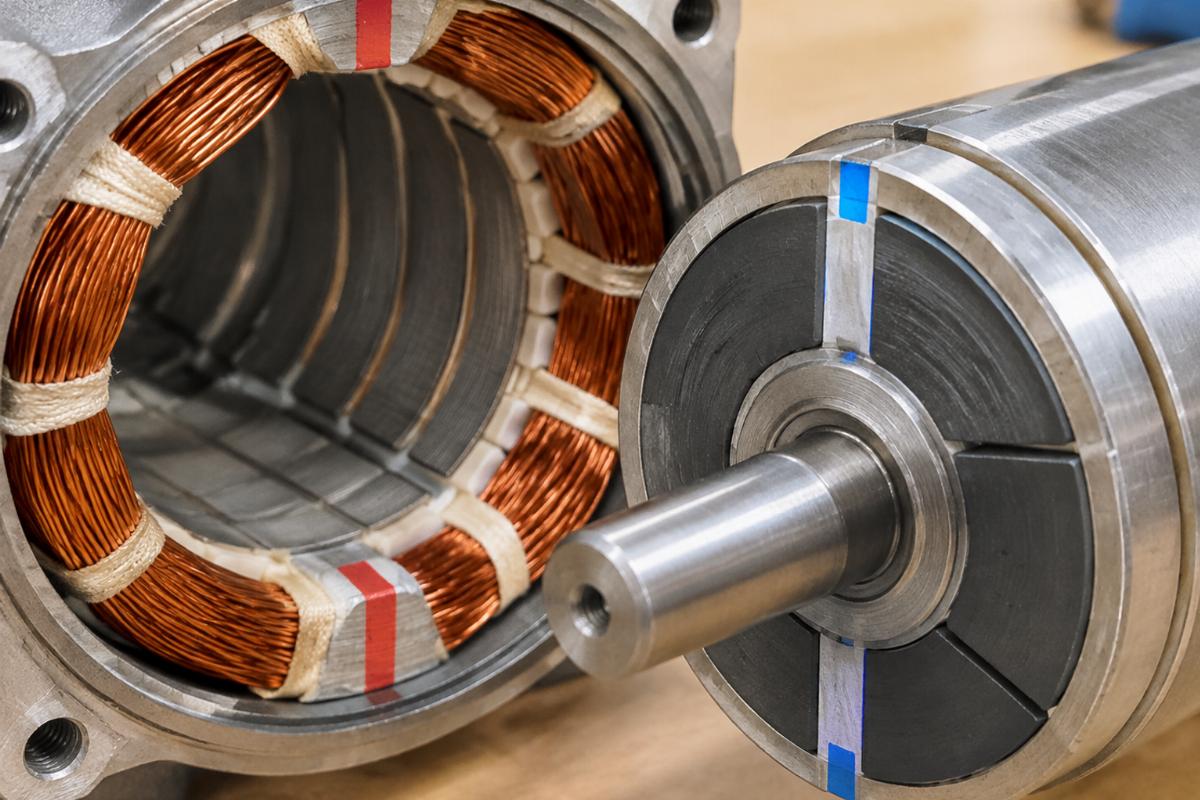
A common mistake is mixing components from different eras of the same engine family. For example, a Twin Cam owner might source a rotor from an early model year and pair it with a stator from a later year. While they may bolt on, the air gap and magnetic alignment are often different. This misalignment causes unstable voltage at idle and potential charging failures at higher RPMs. Data from industry technical bulletins indicates that mismatched kits have significantly higher failure rates compared to matched sets sourced from the same production batch. [NEED_CITE: failure rate comparison between matched and piecemeal charging kits]
| Feature | Matched Kit | Piecemeal Sourcing |
|---|---|---|
| Phase Alignment | Verified | Risk of Mismatch |
| Rotor Air Gap | Calibrated | Variable/Unknown |
| Regulator Load | Balanced | Potential Overload |
| Return Rate | Low | High |
When evaluating a Harley stator and charging kit buying guide, prioritize kits where the stator and rotor are tested together. This ensures the magnetic field interaction is optimal for the specific model year.
How to Identify Your Stator Phase?
Distinguish single-phase from three-phase systems using wire count and resistance tests.
Identifying the phase of your existing stator is the first step in selecting a replacement. You do not need advanced diagnostic equipment to do this; a basic multimeter and visual inspection are sufficient.
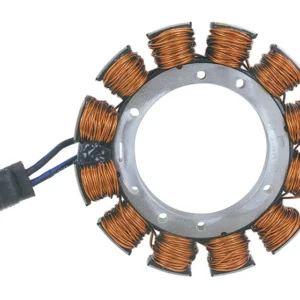
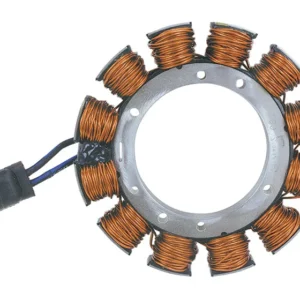
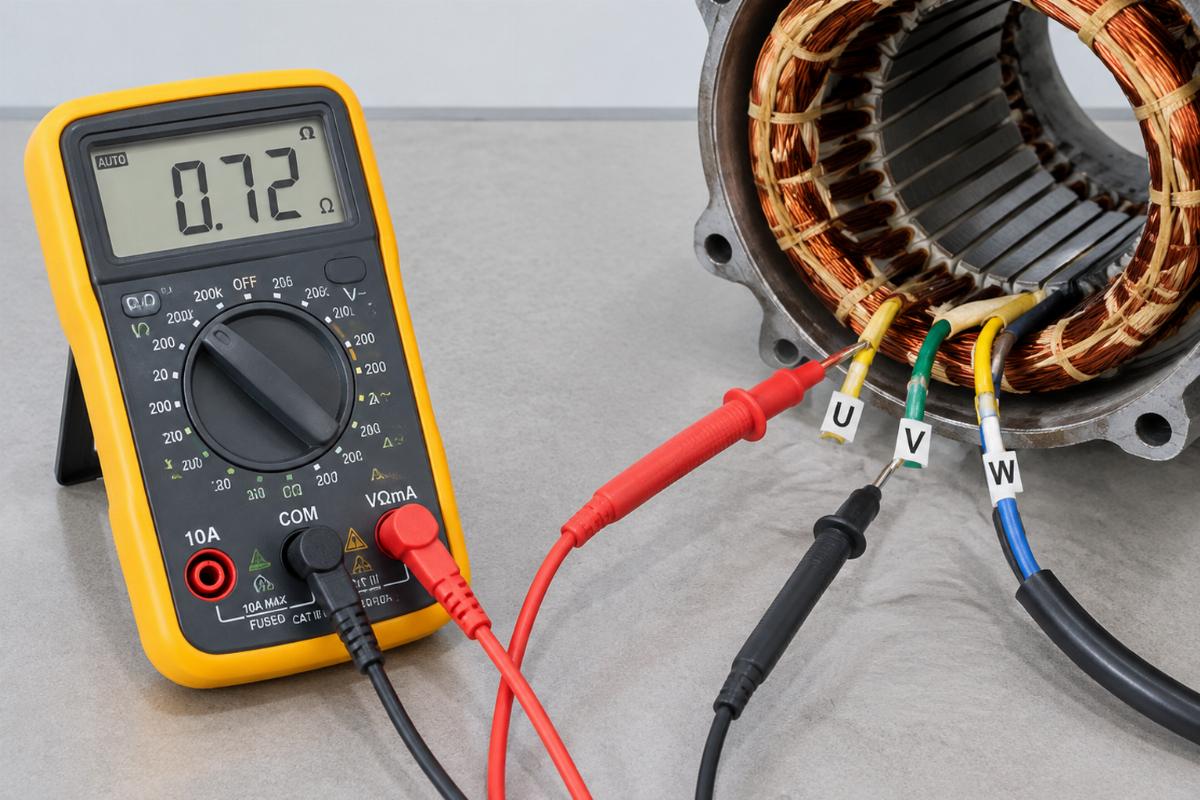
Single-phase stators typically have two output wires leading to the regulator. Three-phase stators have three output wires. This is the most immediate visual cue. However, relying solely on wire count can be misleading if the wiring harness has been modified. Therefore, a resistance test provides confirmation.
To perform the test, disconnect the stator from the regulator. Set your multimeter to measure resistance (Ohms). For a three-phase stator, measure the resistance between each pair of the three output wires. The readings should be nearly identical across all three pairs. If one pair shows a significantly different reading, the stator winding is likely damaged. For a single-phase stator, measure the resistance between the two output wires. [NEED_CITE: standard resistance testing procedures for motorcycle alternators]
It is also crucial to check for shorts to ground. Measure the resistance between each output wire and the stator casing. The reading should be infinite (open circuit). Any continuity indicates a short, which will cause the regulator to fail.
Many aftermarket suppliers list stators without clearly specifying the phase. This ambiguity leads to ordering errors. A reliable Harley stator and charging kit buying guide will always specify the phase configuration for each model year. If this information is missing, request it from the supplier before purchasing. Do not assume that a stator labeled for a specific engine size is compatible with all years of that engine.
What Rotor Compatibility Issues Exist?
Ensure rotor diameter and magnet layout align with the stator’s design year.
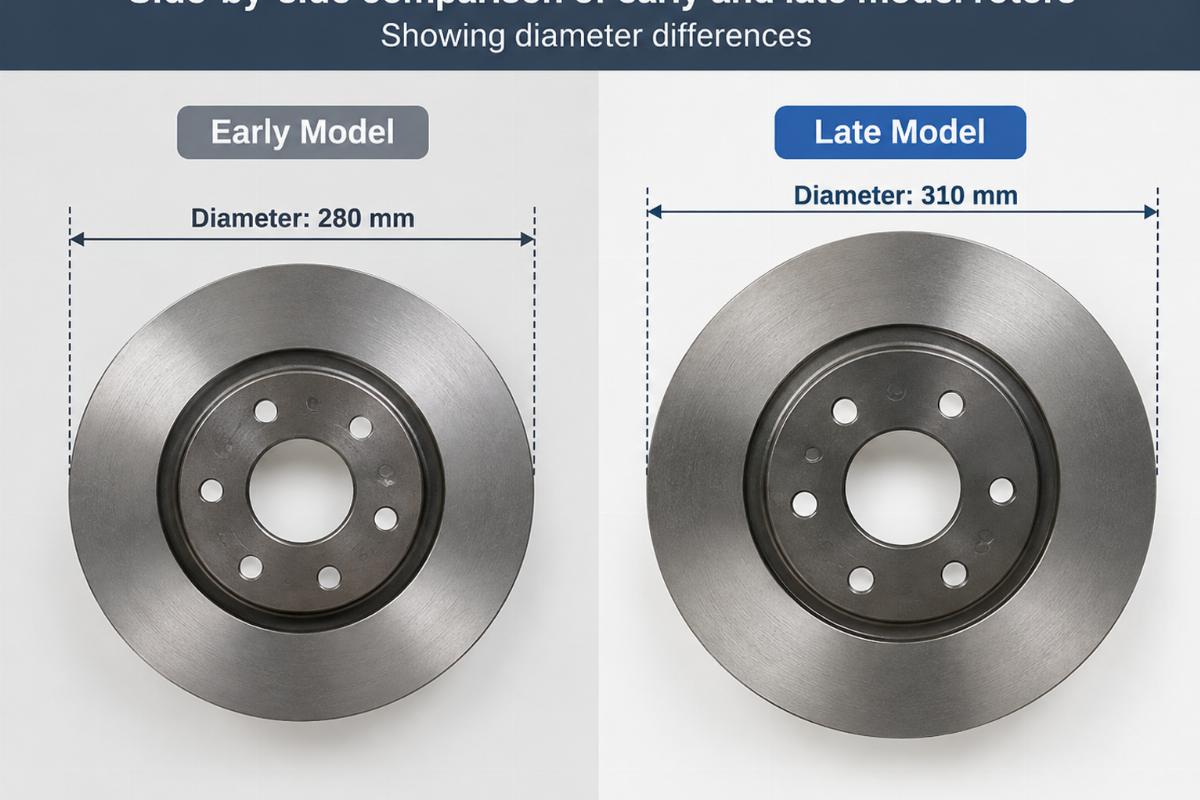
The rotor is not just a spinning mass; it is a precise magnetic component. Its diameter, thickness, and magnet pattern must match the stator’s internal dimensions. Even within the same engine family, such as the Evolution or Twin Cam, changes in manufacturing tolerances and design updates can alter rotor specifications.
One frequent issue is the use of rotors from early model years with late-model stators. The air gap—the distance between the rotor magnets and the stator windings—is critical. If the gap is too large, the magnetic field strength at the windings is reduced, leading to poor charging performance. If the gap is too small, there is a risk of physical contact, which can destroy both components.
Another compatibility factor is the mounting interface. Some rotors use a specific taper or keyway design that varies by year. Installing a rotor with the wrong interface can lead to slippage or imbalance, causing vibration and premature bearing failure.
When sourcing replacements, verify the rotor’s part number against the OEM superseded numbers for your specific model year. [NEED_CITE: OEM part number supersession lists for Harley-Davidson charging systems] Suppliers who provide cross-reference documents make this process easier. They can confirm whether a particular rotor is compatible with your stator based on the engine serial number or VIN.
Avoid mixing brands or sourcing rotors and stators from different suppliers unless you have verified their compatibility. A matched kit eliminates this guesswork. The rotor and stator are designed to work together, ensuring optimal air gap and magnetic efficiency. This is a key consideration in any Harley stator and charging kit buying guide.
Which Regulator Connector Fits Your Model?
Match plug shape and pin configuration to avoid wiring shorts.
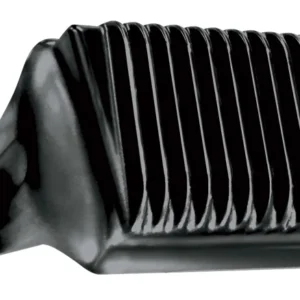
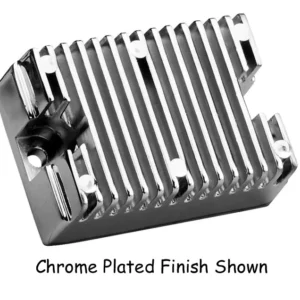
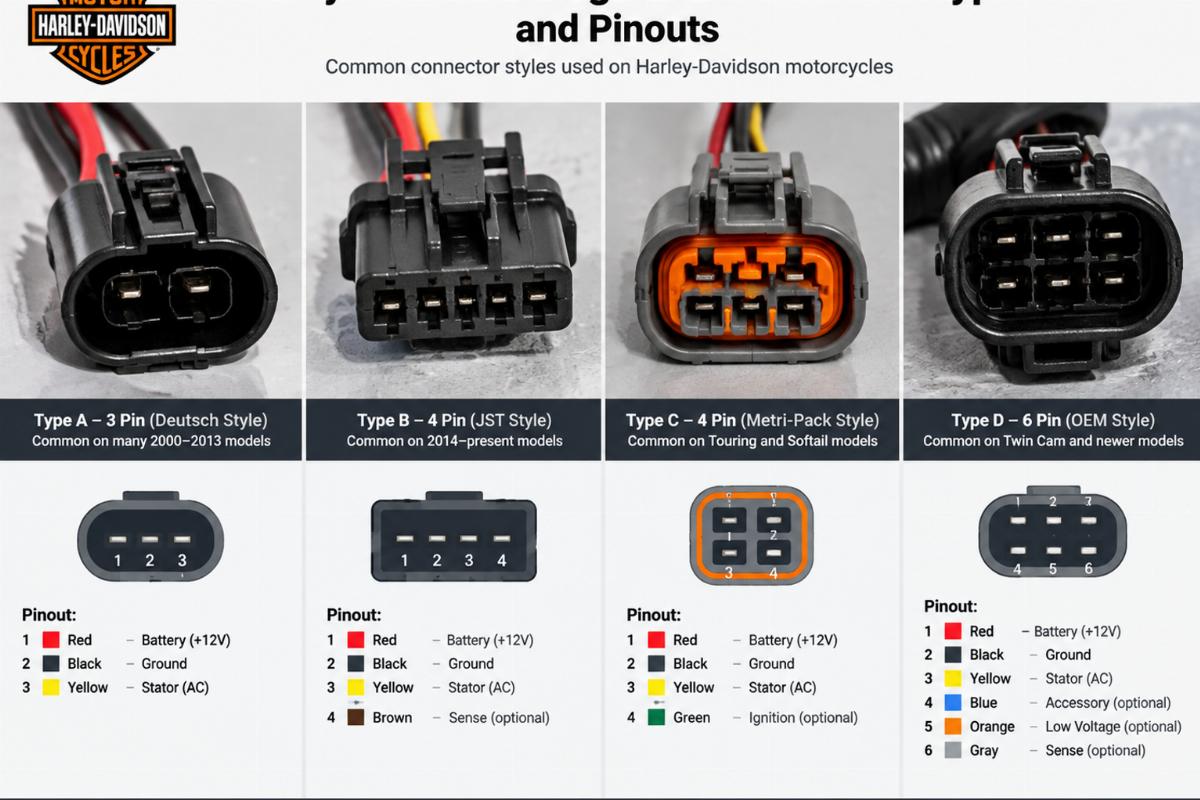
The voltage regulator rectifier connects to the stator via a specific plug. These connectors vary significantly across model years and even within the same year for different models. Using the wrong connector can lead to wiring harness damage during installation or poor electrical contact that causes intermittent charging issues.
Common connector types include multi-pin plastic plugs with locking tabs and simpler spade terminal connections. The pinout—the arrangement of positive, negative, and phase wires—must match exactly. Reversing the phase wires or connecting power to ground will result in immediate failure of the regulator and potentially the stator.
Before ordering, inspect your existing regulator connector. Take a clear photograph of the plug and count the pins. Compare this with the supplier’s product images. Do not rely on generic descriptions like “universal fit.” Universal kits often require cutting and splicing wires, which introduces points of failure and voids warranties.
Some suppliers offer adapter harnesses to convert between connector types. While these can be useful for custom builds, they are not recommended for stock restorations or standard repairs. The best practice is to match the connector type exactly.
A detailed Harley stator and charging kit buying guide will include images of common connector types and their corresponding model years. This visual reference helps buyers identify the correct part without needing to disassemble their motorcycle first. If you are unsure, send a photo of your current setup to the supplier for verification.
How to Verify Fitment Before Ordering?
Use model year, VIN, and photos to confirm electrical specs with suppliers.
The most effective way to prevent returns is to verify fitment before placing an order. This involves more than just providing the model name. You need to supply specific details that allow the supplier to cross-reference their inventory with your motorcycle’s requirements.
Start with the model year and VIN. The VIN contains encoded information about the engine type and production date, which can help identify specific component variations. Next, provide photographs of your existing stator, rotor, and regulator connector. These images allow the supplier to visually confirm the part numbers and configurations.
Request a fitment sheet from the supplier. This document should list the compatible model years, phase configuration, connector type, and any relevant OEM cross-reference numbers. A reputable supplier will provide this information willingly. They understand that accurate fitment reduces returns and builds long-term business relationships.
If you are ordering in bulk for a distribution business, ask for sample units to test fitment on your own bench. This allows you to verify the quality and compatibility before committing to a larger order. Samples also give you the opportunity to check the finish and packaging, which are important for retail presentation.
Do not hesitate to ask technical questions. A supplier who can answer detailed questions about phase alignment and rotor compatibility demonstrates expertise and reliability. This level of support is a hallmark of a trustworthy Harley stator and charging kit buying guide provider.
Conclusion
Precision in electrical matching prevents costly failures.
Selecting the right charging kit requires a thorough understanding of phase alignment, rotor compatibility, and connector types. Amp ratings alone are insufficient to ensure system stability. By verifying these technical details before ordering, distributors and repair shops can minimize returns and maintain customer satisfaction. Always rely on specific model year data and visual confirmation to ensure fitment accuracy.