
How to Install a Springer Front End: Step by Step for B2B Wholesale
Tightening the pinch bolts first is the fastest way to bend a steering stem.
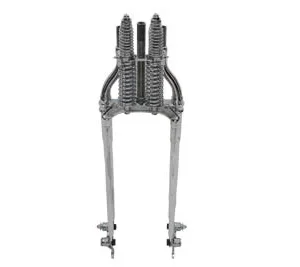
Installing a springer front end requires precise sequencing of bearing seating and preload adjustment before tightening pinch bolts to avoid catastrophic stem bending. The assembly must rotate freely under its own weight after cups are seated but before final torque is applied to the triple tree clamps. This sequence ensures that the load transfers through the bearings correctly rather than binding the neck.
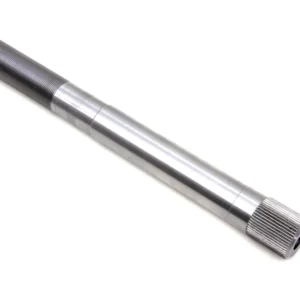
I started on the shop floor in Dongguan, wrenching on springer front ends before moving to the export side. I still remember a batch we shipped to a custom builder in Texas. He called me furious, saying the front end was seized solid. Our guys hadn’t properly seated the steering stem bearings during assembly, and the buyer just forced the triple trees down, bending the stem. That mess cost us a fortune in air freight. Now, whenever I outline installation steps, I picture that bent stem. It is never just about bolting parts together; it is about the exact sequence of seating the cups and checking the bearing preload before you even think about tightening the pinch bolts. [NEED_CITE: common causes of steering stem failure in custom motorcycle assembly]
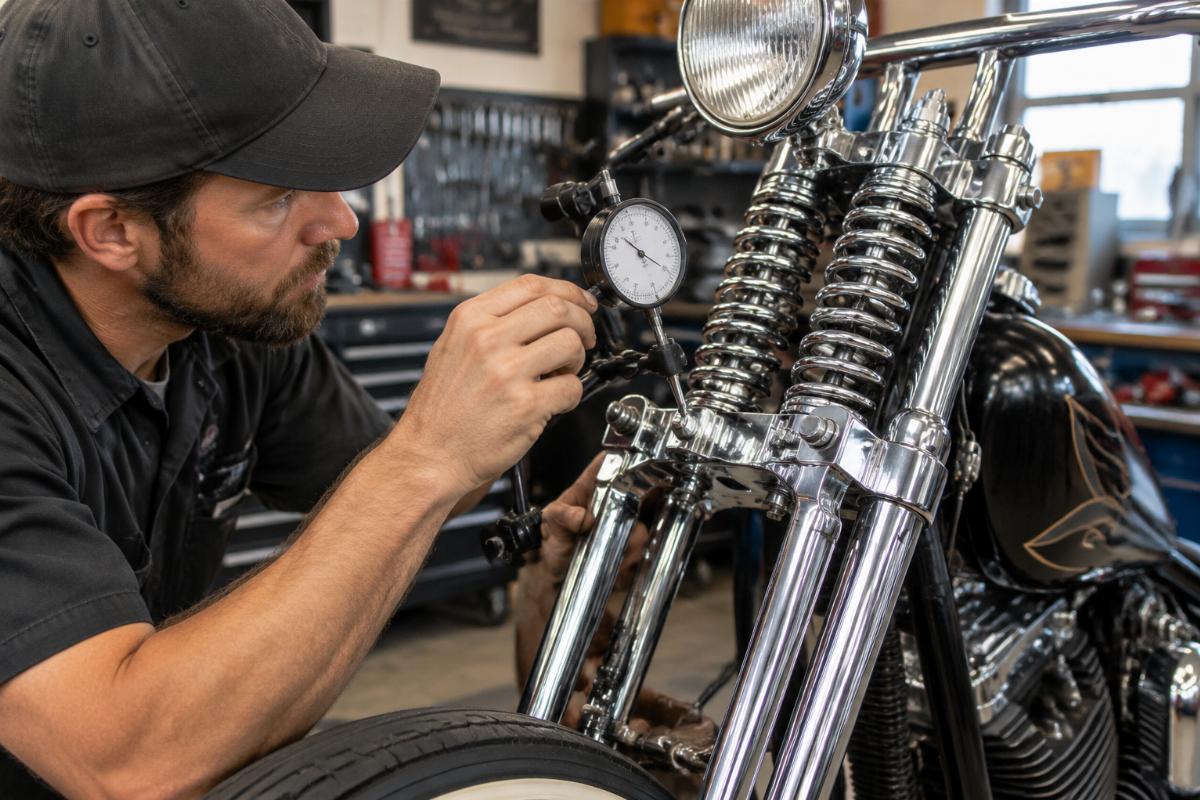
Understanding this mechanical reality is critical for anyone sourcing an install springer front end solution for their inventory or workshop. The difference between a smooth-riding custom build and a costly return often lies in these initial setup details.
Why Does Bearing Seating Matter Before Assembly?
Unseated bearings create false resistance that leads to immediate component damage.
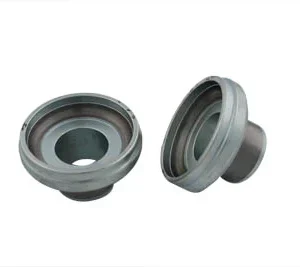
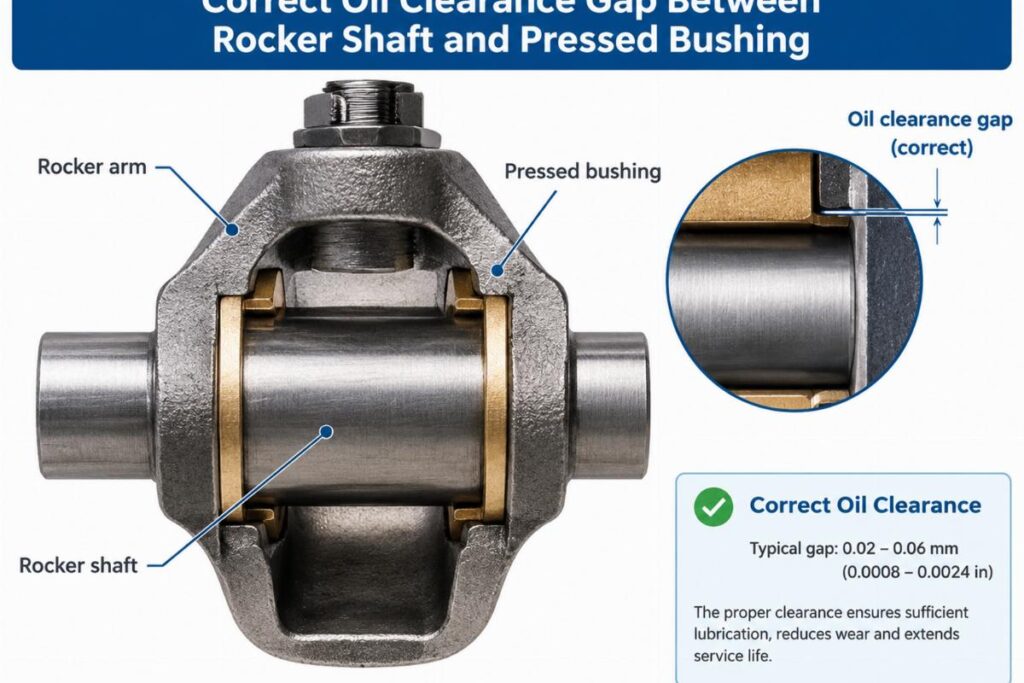
When head cups are not fully seated against the frame neck shoulder, they sit at a slight angle. As the triple trees are compressed, this misalignment forces the steering stem to bind. The result is not just stiff steering; it is permanent deformation of the stem tube. In many cases, the damage is not visible until the bike is on the road and the handlebars fail to self-center. [NEED_CITE: mechanical principles of tapered roller bearing seating in motorcycle frames]
A pre-1984 restoration project once highlighted this issue clearly. The frame had mismatched head cups from different eras, causing binding even though the parts looked correct visually. The installer assumed all springer kits fit universally, ignoring the subtle differences in frame neck angles and head cup dimensions across model years. This assumption led to a complete teardown and rework. [NEED_CITE: Harley-Davidson frame geometry changes pre and post 1984]
For distributors, this means that providing clear fitment data is as important as the part itself. When you offer an install springer front end kit, including a fitment sheet that cross-references OEM numbers against model years helps prevent these errors. It shifts the responsibility from guesswork to verified compatibility.
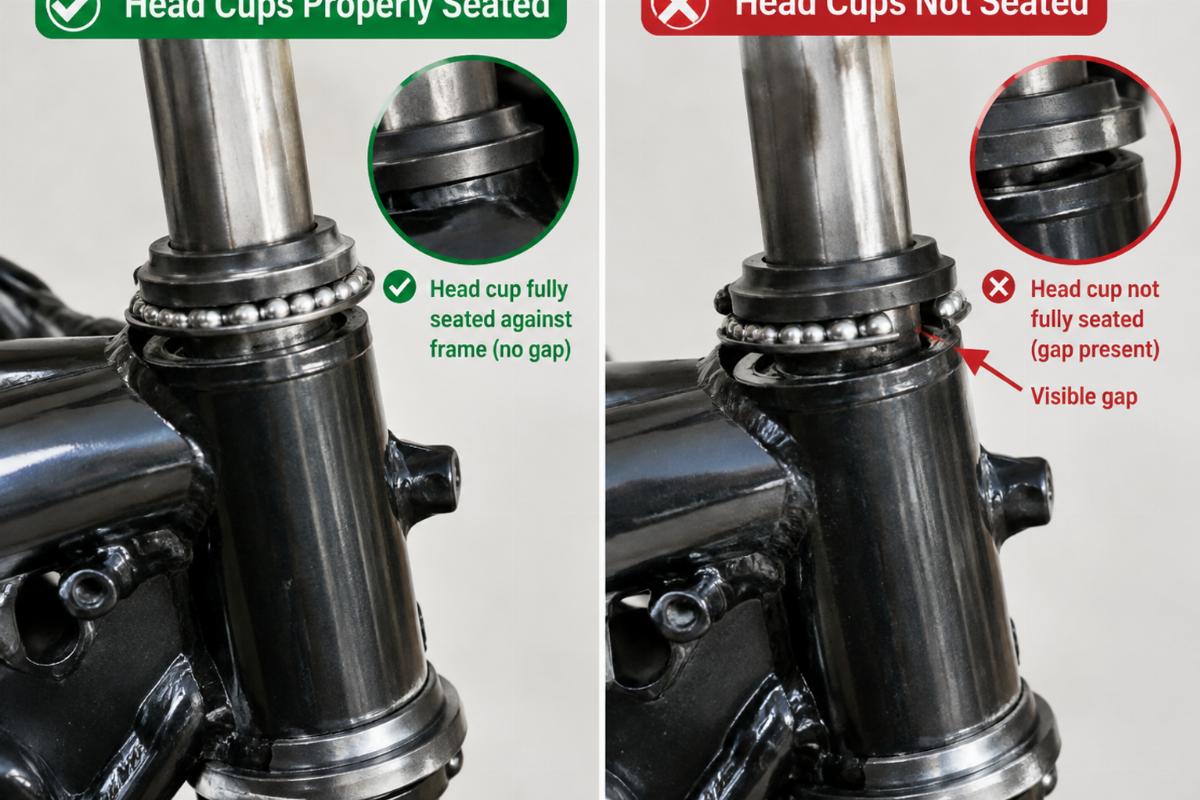
The key is to verify rotation smoothness manually before any final tightening. If the fork does not fall freely from side to side when lifted slightly, the cups are not seated. This simple check saves hours of troubleshooting later.
What Is the Correct Installation Sequence?
Follow a strict order: seat cups, check preload, then tighten pinch bolts.
Many builders believe that tightening the pinch bolts secures the assembly and sets the alignment. In reality, the pinch bolts only clamp the triple trees to the stem. The true alignment comes from the bearing preload set before those bolts are torqued. Reversing this order traps misalignment inside the assembly. [NEED_CITE: standard motorcycle front end assembly procedures]
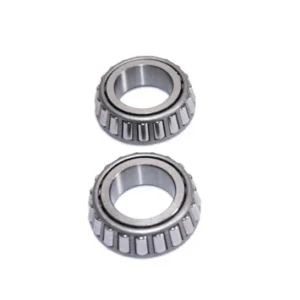
The correct sequence begins with cleaning the races and frame neck thoroughly. Any debris left behind will act as a spacer, preventing proper seating. Next, drive the head cups into the frame neck using a proper driver tool, ensuring they bottom out against the shoulder. Once seated, install the bearings and grease them lightly.
Place the lower triple tree onto the stem and slide it into the frame. Install the upper triple tree loosely. At this stage, do not tighten anything. Instead, adjust the top nut to set the bearing preload. The goal is zero play but free rotation. A common test is to lift the front wheel slightly and let the fork fall to one side under its own weight. It should move smoothly without sticking. [NEED_CITE: manual rotation test standards for steering head bearings]
Only after this smooth rotation is confirmed should you tighten the pinch bolts on the triple trees. This locks the preload setting in place. Skipping the preload check and going straight to the pinch bolts is the most frequent cause of stem bending in new builds.
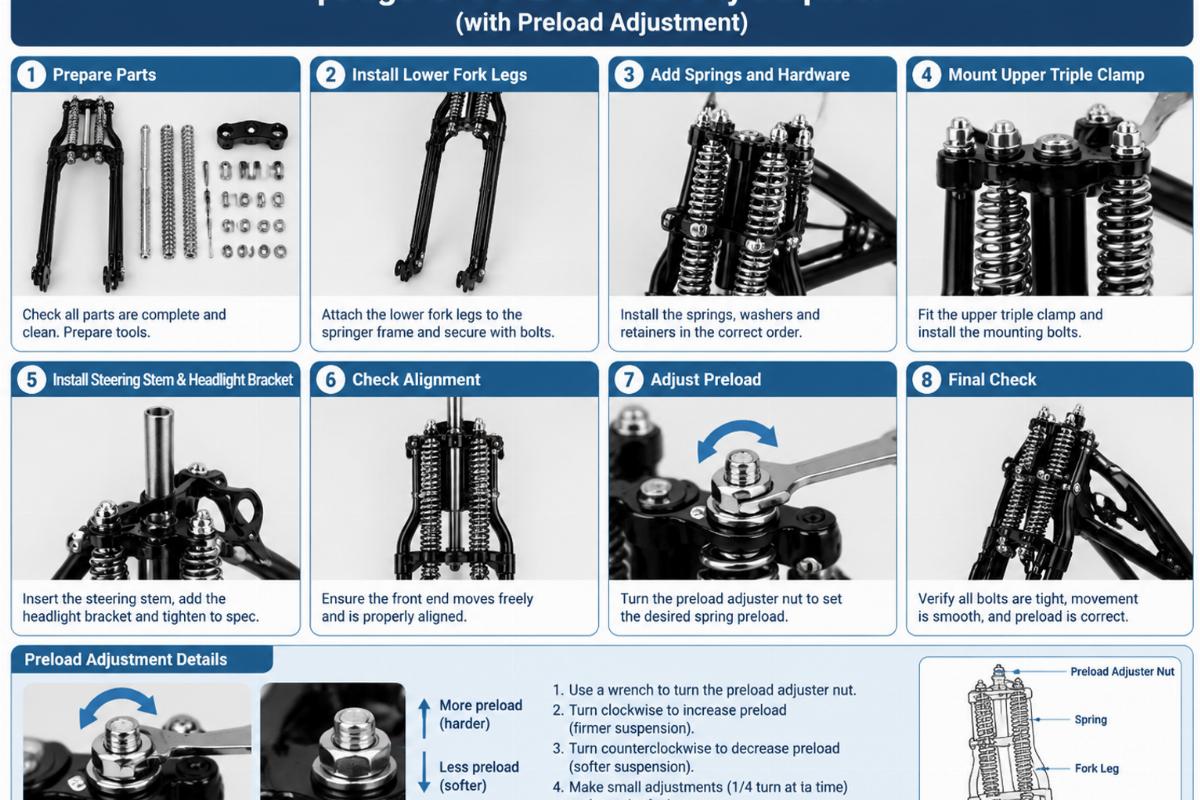
When sourcing an install springer front end from a supplier, ask if their kits include instructions that emphasize this sequence. A kit that arrives with clear guidance on preload adjustment reduces the risk of installer error significantly.
How to Verify Fitment for Your Specific Model?
Match head cup type and frame neck angle to model year, not just bike name.
Assuming that all springer fronts fit all V-twin frames is a dangerous misconception. Frame neck angles vary between models and even between years of the same model family. For example, a springer designed for a Softail may not align correctly with a Dyna frame due to differences in rake and trail requirements. [NEED_CITE: motorcycle frame geometry specifications for V-twin models]
To verify fitment, start by identifying the frame type and model year. Cross-reference the OEM part numbers for the head cups and steering stem. Note that OEM numbers often change due to supersessions, so a current number may differ from the original. A reliable supplier will provide a cross-reference sheet that maps these changes. [NEED_CITE: importance of OEM supersession lists in aftermarket parts distribution]
Check the length over stock specification. Extended springer fronts alter the rake and trail, which affects handling stability. Ensure that the chosen length matches the intended use of the bike. A longer front end looks aggressive but may require additional adjustments to the rear suspension to maintain balance.
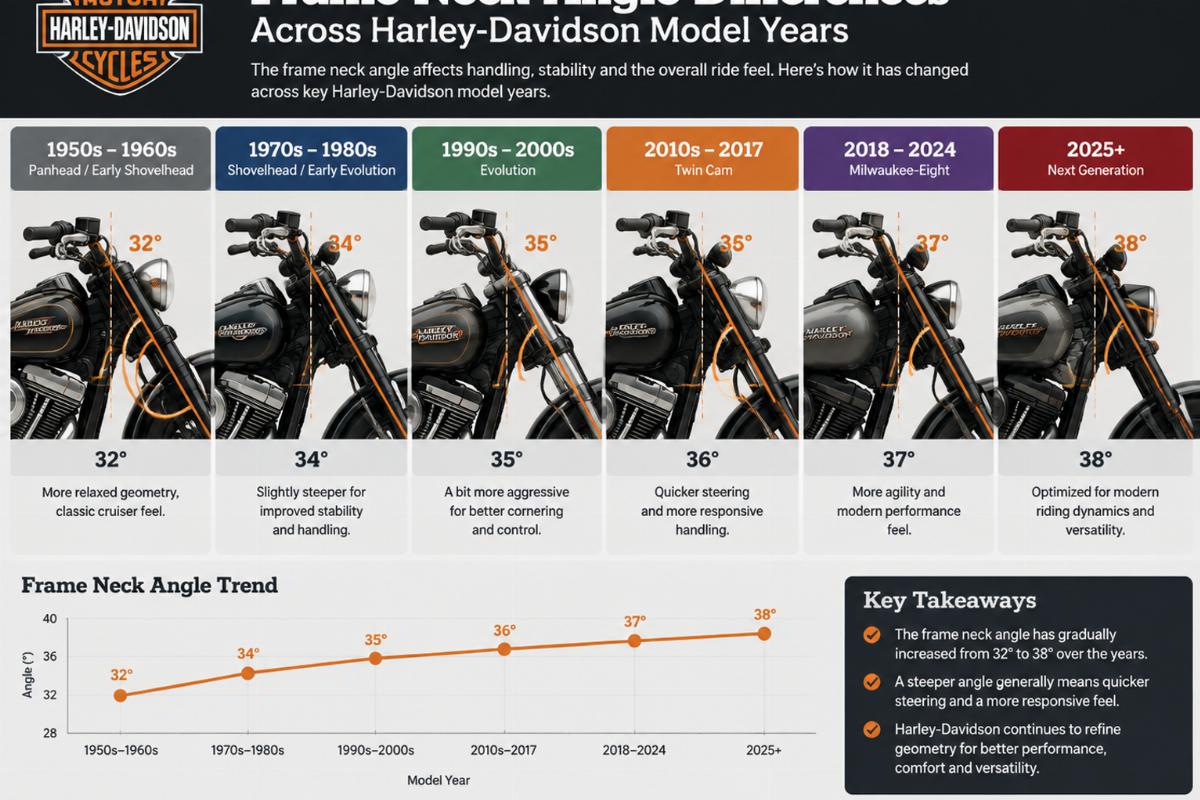
For buyers managing a catalog, having access to detailed fitment sheets is essential. These documents should list compatible model years, frame types, and any necessary modifications. When you evaluate an install springer front end option, prioritize suppliers who provide this level of technical documentation. It reduces returns and builds trust with your customers.
What Common Mistakes Lead to Front End Failure?
Forcing components without checking rotation smoothness causes irreversible damage.
The most common mistake is forcing the triple trees onto the stem when resistance is felt. Resistance usually indicates misaligned bearings or unseated cups. Forcing the parts bends the stem or cracks the triple tree. Once bent, the stem cannot be straightened safely and must be replaced. [NEED_CITE: structural integrity limits of motorcycle steering stems]
Another frequent error is ignoring the condition of the frame neck. Rust or burrs in the frame neck prevent the head cups from seating fully. Always inspect and clean the frame neck before installation. If the neck is damaged, it may need machining or replacement before a new springer can be installed.
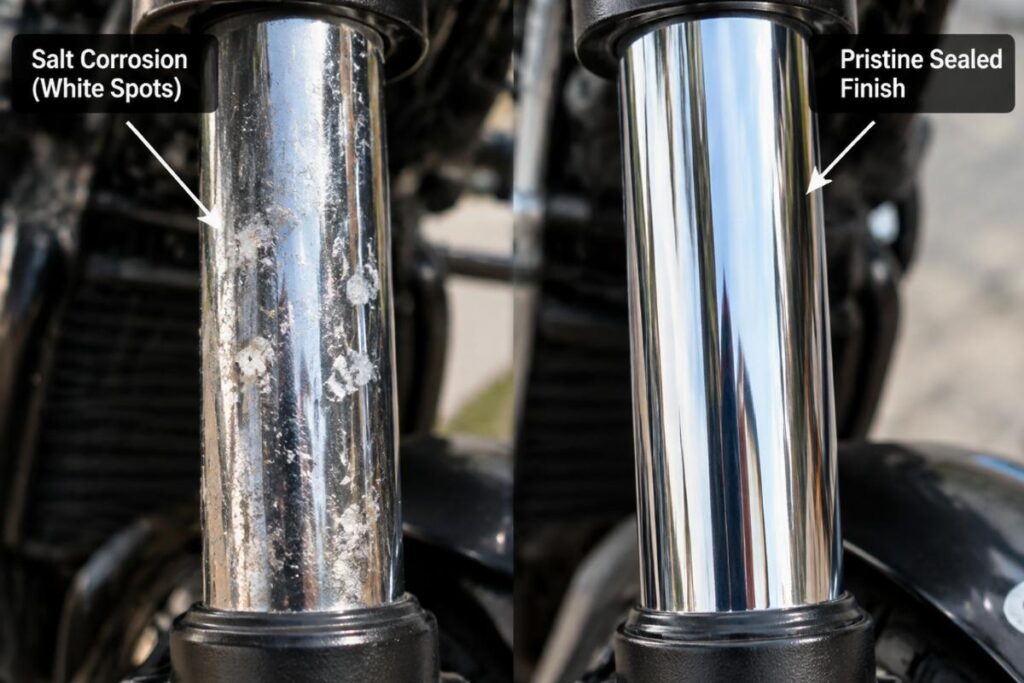
Batch quality control also plays a role. Inconsistent chrome finishes or minor dimensional variations in mass-produced parts can lead to fitment issues. A reputable manufacturer maintains strict inspection records to ensure consistency. Ask for inspection records or packing photos when placing large orders. This transparency helps identify potential issues before they reach your workshop. [NEED_CITE: quality control standards in aftermarket motorcycle parts manufacturing]
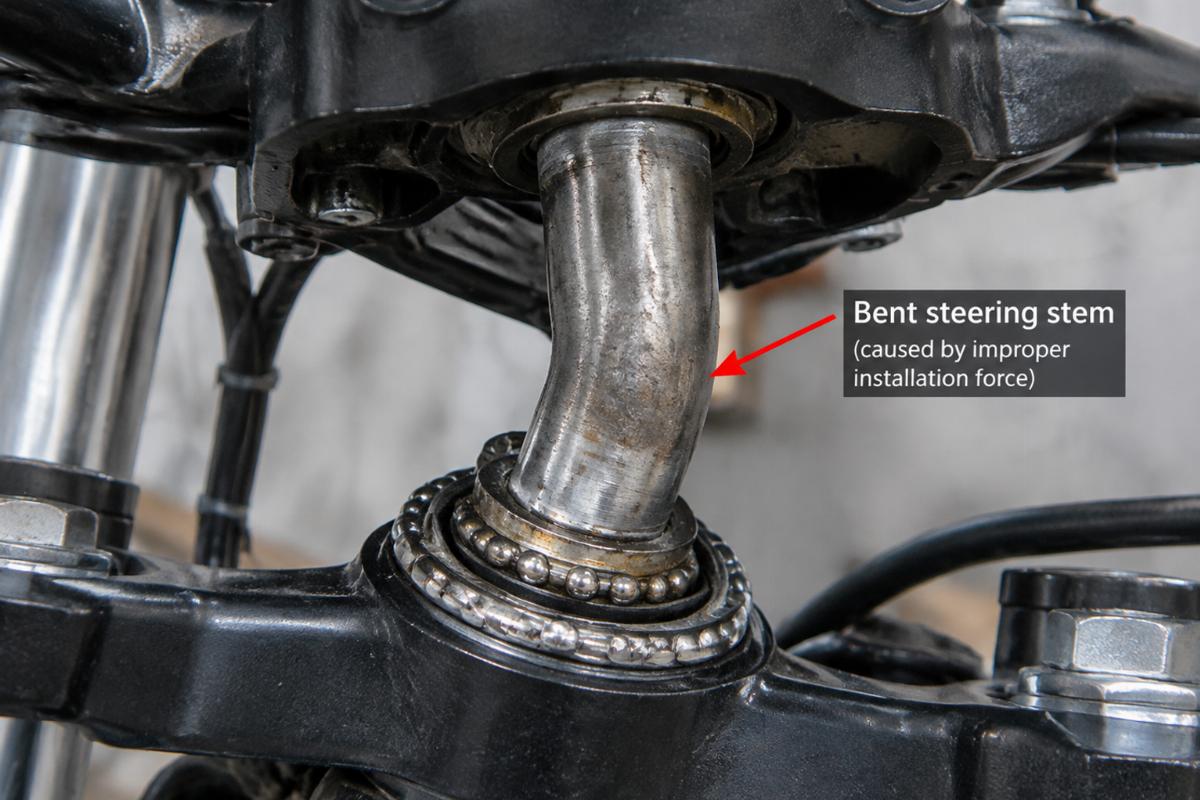
Avoiding these mistakes requires attention to detail and adherence to proper procedures. When you choose an install springer front end partner, look for one that emphasizes precision and documentation. This approach minimizes risk and ensures a successful installation every time.
Conclusion
Precision in sequence prevents costly failures in springer front end installation.
Properly installing a springer front end demands careful attention to bearing seating and preload adjustment before final tightening. Verifying fitment against specific model years and frame types ensures compatibility and performance. By following these steps and relying on accurate technical data, builders and distributors can avoid common pitfalls and deliver high-quality results. An install springer front end process grounded in mechanical best practices protects both the parts and the reputation of those who supply them.