
Raw Spring Fork Front Leg Tube Set 7/16″ – Fits Custom Springer
Fitment Verified Before Quotation — Every spring fork front leg tube set for custom springer is checked against platform and year range before dispatch.
Product Specification
| Parameter | Value |
|---|---|
| Part Type | Spring Fork Front Leg Tube Set |
| Finish | Raw |
| Hole Diameter | Drilled for 7/16″, drill to 1/2″ as required |
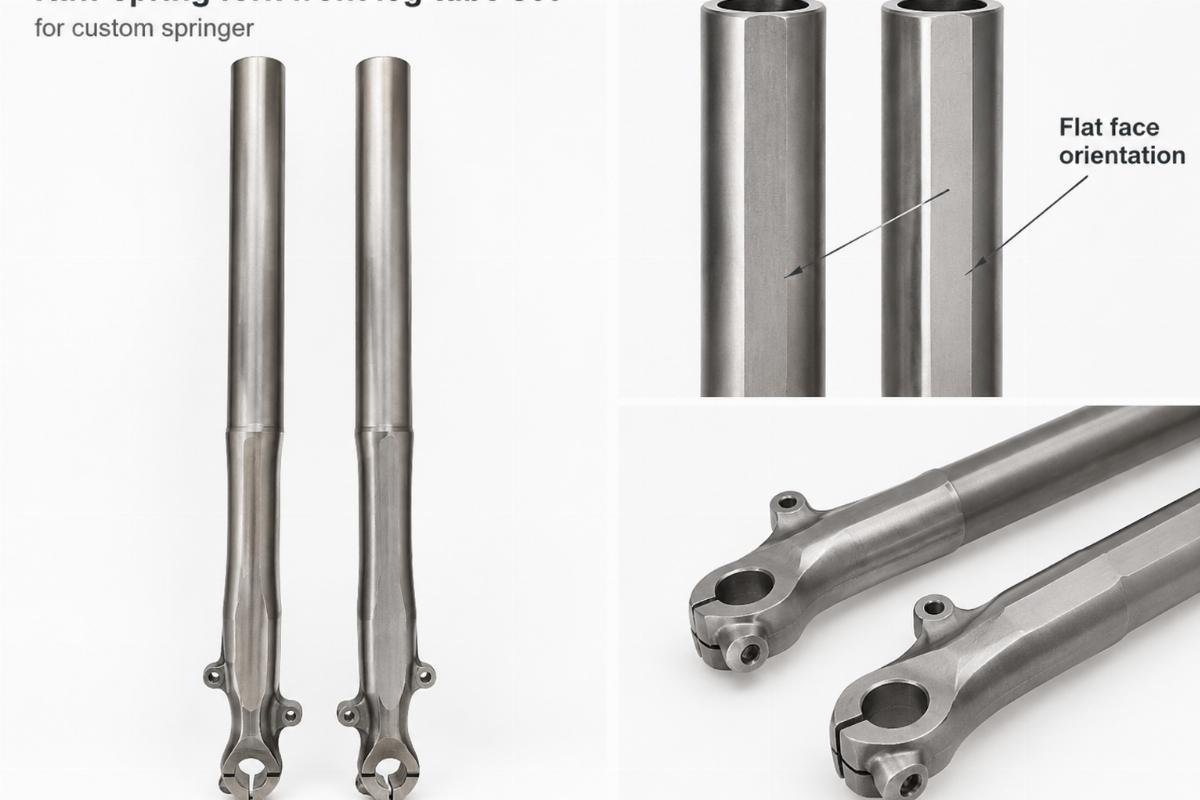
| Orientation | The flat face side goes to the inside |
| Installation Notes | Must be brazed into the forging |
Fitment
| Platform | Year Range | Notes |
|---|---|---|
| Not stated in source | Not stated in source | Confirm with model and year. Must be brazed into the forging. |
Independent aftermarket part. Not manufactured, sold or endorsed by any motorcycle manufacturer. Model names and OEM numbers are used for fitment reference only.
Why Flat Face Orientation Dictates Leg Alignment
The flat face side must always point to the inside before any brazing begins.
I once handled a batch of raw spring fork front leg tubes for pre-1984 springer front ends where a builder completely ignored the flat face orientation. They tried forcing the tubes into the original forging without brazing first. The 7/16″ original drill holes were blindly reamed to 1/2″, which ruined the steering geometry and cracked the triple tree mounting points [NEED_CITE: frame geometry tolerances for early springer forgings]. That failure reinforced why verifying the flat face side and drilling requirements is mandatory before applying heat. When you source a spring fork front leg tube set for custom springer builds, confirming this orientation prevents irreversible damage to the forging.
Checking Pre-Drilled Hole Sizes Against Hardware
Before modifying the hole diameter, you must verify that the existing 7/16″ pre-drilled spacing matches your axle or hardware requirements. The spring fork front leg tube set for custom springer arrives with these initial holes to guide your alignment. If your specific build demands a 1/2″ clearance, the reaming process must be done symmetrically after the tubes are properly positioned. Rushing this measurement phase often leads to mismatched leg spacing [NEED_CITE: axle spacing variations across custom springer builds].
Raw Finish Preparation for Brazing
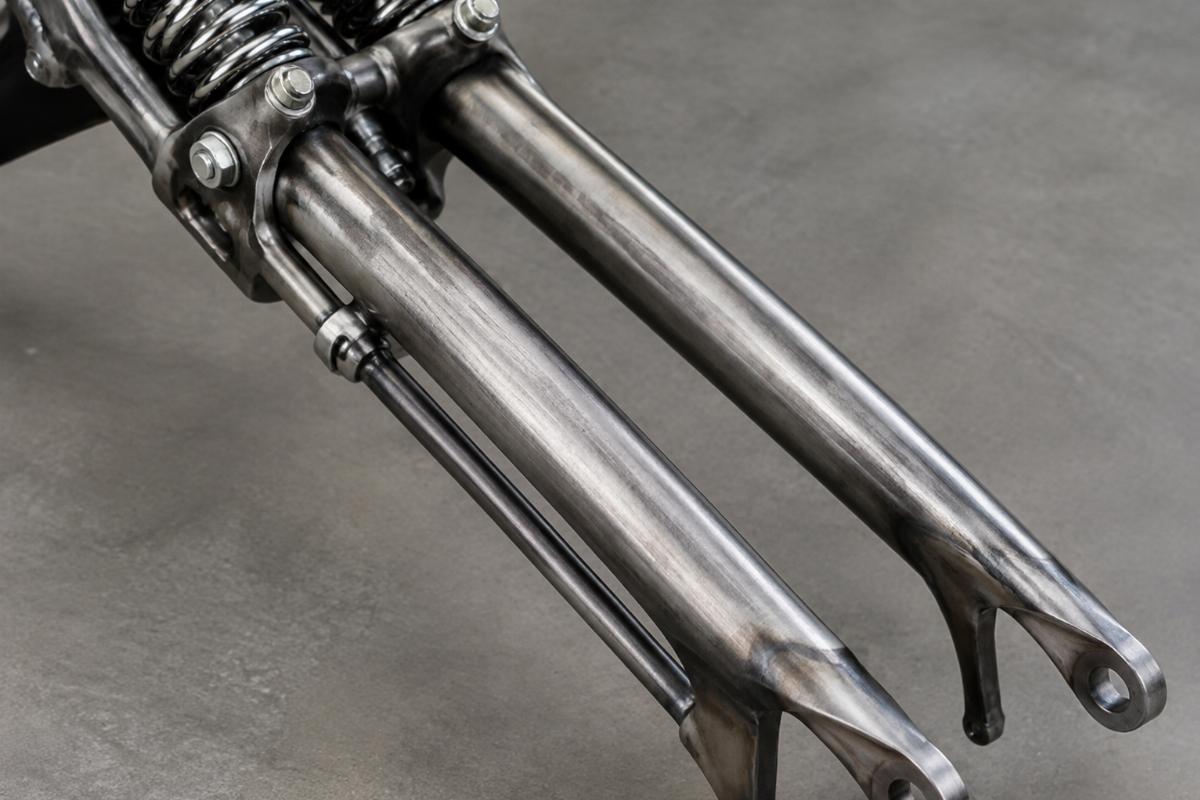
These tubes arrive with a raw finish specifically prepared to accept heat during the brazing process. A raw surface ensures proper adhesion when joining the tube to the forging, which is critical for structural integrity. Any surface contamination or incorrect finish expectation can compromise the joint once the spring fork front leg tube set for custom springer is subjected to road vibrations. Always inspect the raw surface for any debris before initiating the brazing sequence.
The Hidden Cost of Ignoring Orientation
Failing to align the flat face side to the inside forces the leg into an unnatural angle, shifting the entire front-end geometry. This misalignment places uneven stress on the steering stem and can warp the triple tree mounting points during brazing. Once the metal cools in a distorted position, correcting the spring fork front leg tube set for custom springer requires replacing the forging entirely. Verifying orientation and hole sizing before any permanent modification saves the build from catastrophic structural failure [NEED_CITE: stress fracture patterns in misaligned springer legs].
Sourcing Directly From the Front-End Specialist
We manufacture these front-end components in our own facility, ensuring direct control over the raw finish quality and drilling precision. Every spring fork front leg tube set for custom springer is checked against your specific platform and year range before we issue a quotation. We support minimum orders starting from a single piece, allowing custom shops to procure exactly what they need for a one-off build without excess inventory. You also receive cross-reference documentation against OEM numbers marked reference only, ensuring complete traceability for your records.
Documentation Included With Your Shipment
- Fitment sheet stating applicable platforms and year ranges for the tubes
- Key dimensions including the 7/16″ hole diameter and orientation details
- Finish specification confirming the raw surface treatment
- Quality inspection record verifying the flat face side alignment
- Cross-reference sheet with OEM numbers marked reference only
- Warranty terms covering manufacturing defects in the raw tubes
Pre-Installation Verification Checklist
- Confirm the 7/16″ pre-drilled holes align with your specific axle hardware
- Verify the flat face side is oriented to the inside before brazing
- Inspect the raw finish for any surface debris prior to heat application
- Check forging compatibility to ensure proper fitment before modification
- Store the tubes in a dry environment to prevent surface oxidation on the raw finish
Send Your Build Details For Verification
Provide your model code, year range, and a photograph of the existing forging so we can verify fitment before you order. If you have an old part number or specific measurements for the 1/2″ reaming requirement, include those details in your inquiry. Let us know if you need a single set for a one-off build or if you require a sample for fitment confirmation before placing a bulk order.
Frequently Asked Questions
Q: How do I confirm if these raw tubes fit my specific custom springer build?
A: Send us your model code, year range, and a photograph of the existing forging. We verify the fitment against the platform and year range before quotation. We also check if the 7/16″ pre-drilled holes match your hardware spacing requirements to ensure proper alignment.
Q: What key dimensions must I measure before brazing the tubes?
A: You must verify the 7/16″ pre-drilled hole diameter against your axle hardware and confirm the flat face side orientation. The flat face must point to the inside. Checking forging compatibility and measuring the required 1/2″ reaming depth prevents structural damage during assembly.
Q: Can I order a single set of front leg tubes for a one-off custom build?
A: Yes, we support minimum orders starting from one piece. This allows custom builders and repair shops to procure the exact spring fork front leg tube set for custom springer needed for a single project without meeting high bulk order thresholds.
Q: Are these raw tubes compatible with early springer forgings?
A: They are designed for early springer forgings requiring brazing. You must verify the flat face side orientation and the 7/16″ hole spacing against your specific forging before any modification. We confirm fitment based on your provided model and year details.
Q: How do I verify the flat face side orientation during assembly?
A: The flat face side is explicitly designed to go to the inside. Before brazing, align this flat surface inward to maintain correct steering geometry. Ignoring this orientation and forcing the tubes can crack the triple tree mounting points and ruin the build.